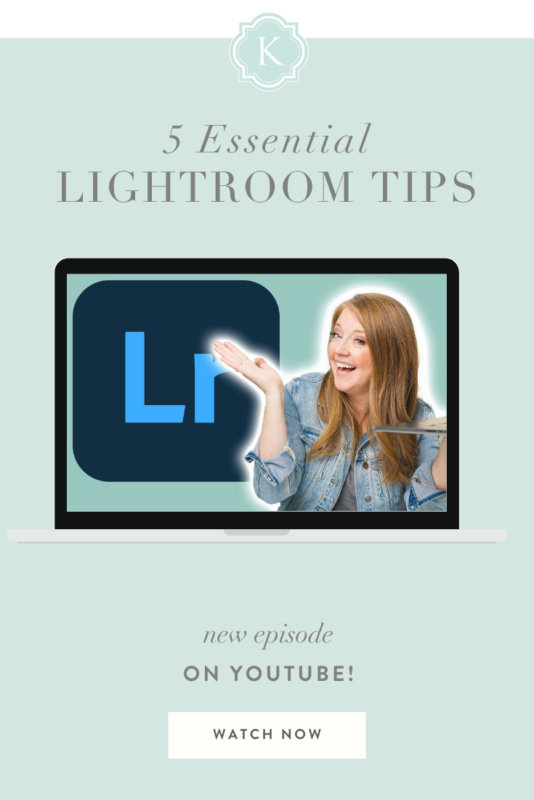
As a professional wedding photographer with over 15 years of experience, I’ve learned a thing or two about getting the most out of Lightroom. While some of these tips may seem obvious to seasoned editors, I guarantee at least one of them will be helpful and could transform your post-processing workflow! From fine-tuning your profile settings to mastering color grading, these Lightroom hacks are sure to take your images to the next level.
Start with a Clean Slate
When it comes to editing in Lightroom, the profile settings you choose can make a significant impact on your final results. Many photographers rely on the automatic profile adjustments, but I prefer to take a more hands-on approach. Instead of starting with a preset profile that tries to do the work for me, I like to begin with the “Adobe Standard” profile, which gives me a clean, unaltered canvas to work with.
By doing this, I have complete control over the editing process and can build my desired look from the ground up!
Lens Correction
I always make sure to enable lens profile corrections, which helps to eliminate any unwanted distortion or vignetting around the edges of my images! This is automatically turned on when I import my photos!
Tonal Curve
The tonal curve is a powerful tool in Lightroom that often goes underutilized. While the basic adjustments in the “Basic” tab can be useful, the tonal curve offers a level of precision and control that can’t be matched. By carefully shaping the curve, you can make targeted adjustments to the highlights, depth, and shadows, allowing you to fine-tune the overall tonality of your image.
In my editing workflow, the tonal curve is an essential step that helps me achieve my signature style. If you don’t have a consistent editing pattern or defined look for your brand, mastering the tone curve should be a top priority.
Color Grading
Color grading is a game-changing technique that can transform the overall mood and feel of your images. By making subtle adjustments to the hue, saturation, and luminance of specific color ranges, you can create a cohesive, visually striking look that sets your work apart.
In Lightroom, you can access the color grading tools through the “HSL/Color/B&W” panel. Start by experimenting with the “Color” tab, where you can adjust the hue, saturation, and luminance of individual color channels. Pay close attention to how these changes affect the skin tones, as getting this right can make a big difference in the final result.
Calibration Panel
Buried deep within the Lightroom “Develop” module is the “Calibration” panel, a often-overlooked tool that can work wonders for your images. This section allows you to fine-tune the hues of specific color ranges, such as greens and yellows, which can be particularly useful for landscape or nature photography.
If you ever find yourself struggling with the color balance in your images, especially in areas with a lot of greenery, give the “Calibration” panel a try. A small adjustment to the “Green Primary” slider can be all it takes to bring your colors into perfect harmony.
Watch the video below and add these tips into your LR workflow!
Also, if you like what you see, you would love this FREE training I have on Editing in LR! There is so much to learn and it’s a great place to start! Sign up for a time that works for you HERE!
Have you seen some of our most popular youtube episodes?
We release brand new Youtube episodes every other week! They range from business topics, personal episodes, gear reviews, technical training and behind the scenes education! If you’ve never explored this part of our photography education, dive in now! It’s free!! Enjoy!
If you want to save this for later, Pin It!!