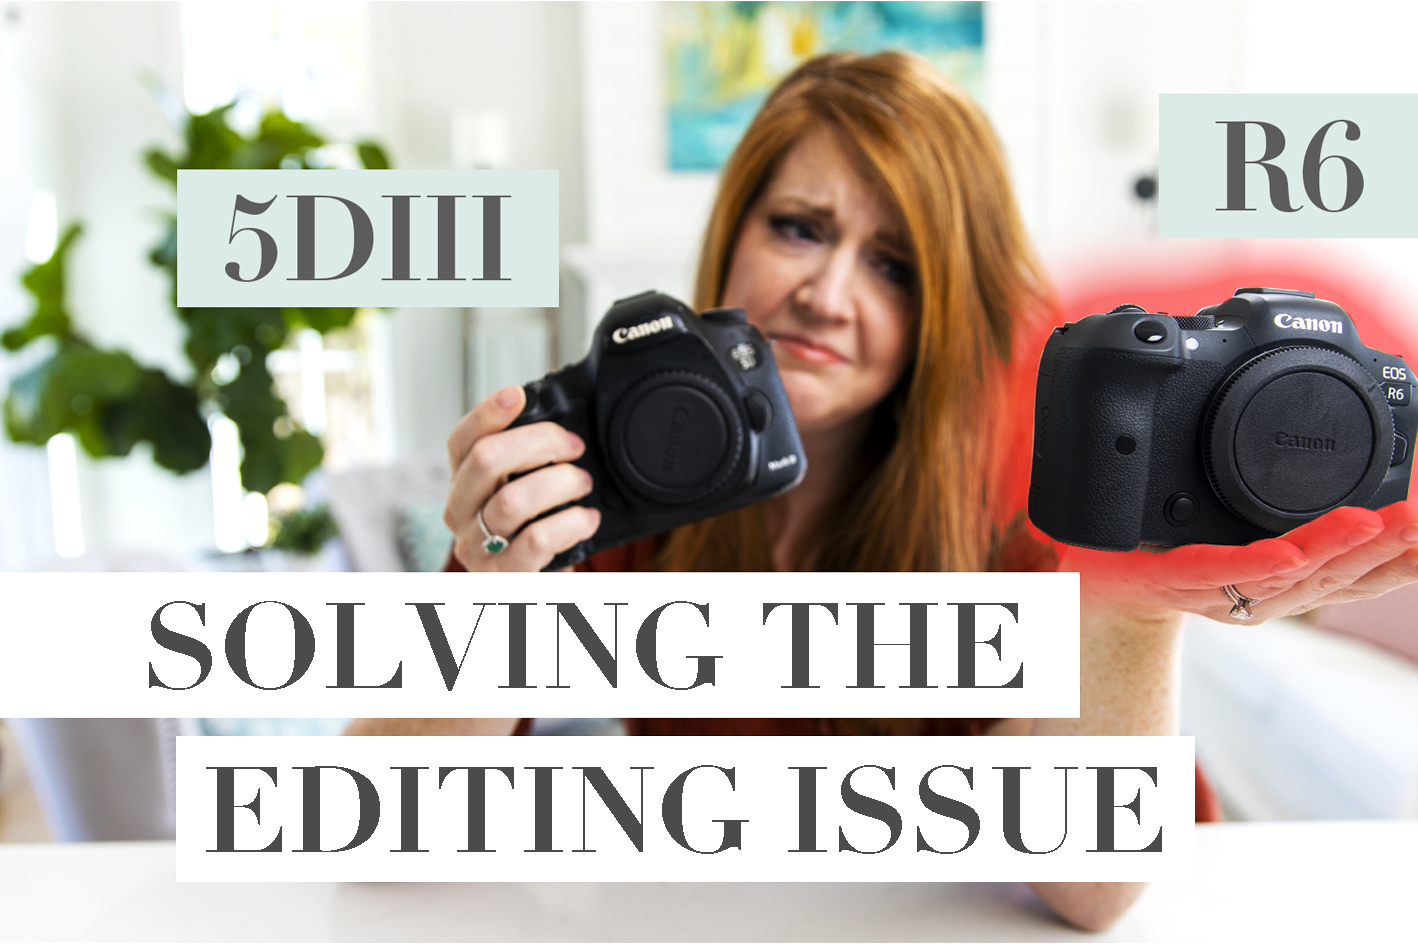
I get it because this same issue happened when I switched from the Mark III to the Mark IV.
When Canon made the switch from the Mark III to the Mark IV, they changed the RAW file type and that resulted in a dramatic shift in our post-processing. This is the same type of issue photographers are running into today with the switch from the Mark III to the R6.
I’ve seen some very established photographers actually RETURN their R6 because they didn’t like the massive shift and they are defaulting to their Mark III again.
That is totally fine but eventually…. like, several years from now…. they will need to transition. There WILL come a time when almost every photographer will have to go through the nitty gritty process of figuring out WHY images look different with a new camera and learn how they can replicate an edit that they love! My hope is that I can help make that transition easier!
That’s why I’ve created this Youtube Episode!!!
I took some of the nitty gritty process of comparing RAW files, assessing the differences and making notes on which sliders are affected the most and I made a video for you!!!
This video doesn’t just address the Mark III to R6 issue, these tips can be used to determine the struggle between any two types of cameras.
In this episode I’m sharing the foundational steps I took to solve the editing discrepancy between two different RAW file types.
If you find yourself in a situation where you were shooting with one type of RAW file and now, a new camera body is causing you to have to change your editing approach, here are some steps to take to work through the struggle:
- Assess the difference: These raw files need to be compared side by side! This is what I noticed about the two file types:
-
- The Mark III has more dimension and more highlight and shadow
- The R6 looks flat and boring and just overall dull!
- The R6 also has bland, dull whites
- Mark III has more vibrant colors in RAW
- Decide which file you need to match to!
If you don’t have an action plan for how you’re going to approach this transition, you’ll find yourself recklessly moving your sliders all around without any strategy at all. This just leads to more confusion and frustration! In this video, this was my approach:
-
- Edit the Mark III RAW file to the edit I wanted
- Copy those edits to the R6 RAW file
- Tweak the R6 edit to match the Mark III edit
- Compare the sliders in each section to understand what needs to shift in my new R6 edits to achieve the Mark III look
When editing anything, I highly recommend editing the exposure and POP first (if you don’t know what I mean about POP and haven’t explored the Tonal Curve, you would THRIVE in the KJ Consistency Course! (link).
Another tool that you saw me using in this episode was the KJ Preset Process (link)! This is the innovative Four-Step editing process that I created in Lightroom to empower photographers to grow in their consistency and their efficiency! Unlike traditional presets, the KJ Preset Process combines the power of presets AND profiles in a step by step system!! You can learn more about why over 4,000 photographers are using this process HERE!
I hope this video provides some clarity and encouragement if you have ever struggled with how to edit during a camera-body transition or really have ever struggled in general with editing overall!