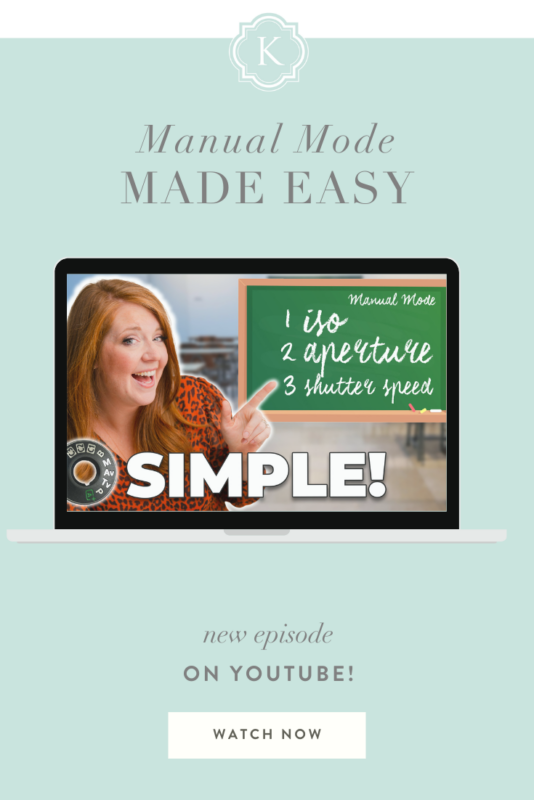
Many people believe that shooting in manual mode requires managing multiple variables simultaneously, such as shutter speed, aperture, and ISO. However, I am here to tell you that shooting in manual mode doesn’t have to be complicated. In fact, it can be simplified to make the process more manageable.
Simplifying Manual Shooting
To demonstrate how manual mode can be simplified, I’m giving you a FREE look at one of the 34 lessons in the KJ Starter Course. This course will help you gain the necessary control to become an amazing professional photographer without feeling overwhelmed!
One Variable at a Time: My Approach to Manual Mode
When shooting in manual mode, my goal is to focus on one variable at a time. This simplifies the process and allows me to maintain control over my exposure settings. The first variable I consider is aperture, as it defines a significant part of my style. I carefully assess the subject I am shooting and determine the appropriate aperture that aligns with my desired style while avoiding any issues with soft focus or breaking the rules. Once I have chosen my aperture, I set it and forget it. This allows me to shoot with confidence, knowing that my images will have the desired depth of field.
After setting my aperture, I shift my focus to ISO. I generally keep my ISO low and only make adjustments if necessary. For example, if I am shooting in natural light with an abundance of available light, I can typically leave my ISO at a safe level (e.g., 250) without needing to change it. This eliminates the need to constantly think about ISO and allows me to concentrate on the final variable: shutter speed.
Shutter speed becomes my primary variable for controlling exposure. As long as I am shooting in ample natural light, the specific value of my shutter speed is not a major concern. The key is to avoid reaching the “guard rail” where camera shake becomes an issue. As long as I stay within a safe range, I can focus solely on adjusting the shutter speed to achieve proper exposure. This simplified approach allows me to create stunning images without feeling overwhelmed by multiple variables.
I hope this was helpful for you today!! Click below to watch the full video!
If you found this lesson helpful and want to explore more topics related to photography, the KJ Starter Course is your next best step! The course covers a wide range of subjects, including composition, editing basics in Lightroom, lighting priority plans, and more. It is specifically designed for beginner photographers or those looking to enhance their skills in the professional world.
Have you seen some of our most popular youtube episodes?
We release brand new Youtube episodes every other week! They range from business topics, personal episodes, gear reviews, technical training and behind the scenes education! If you’ve never explored this part of our photography education, dive in now! It’s free!! Enjoy!
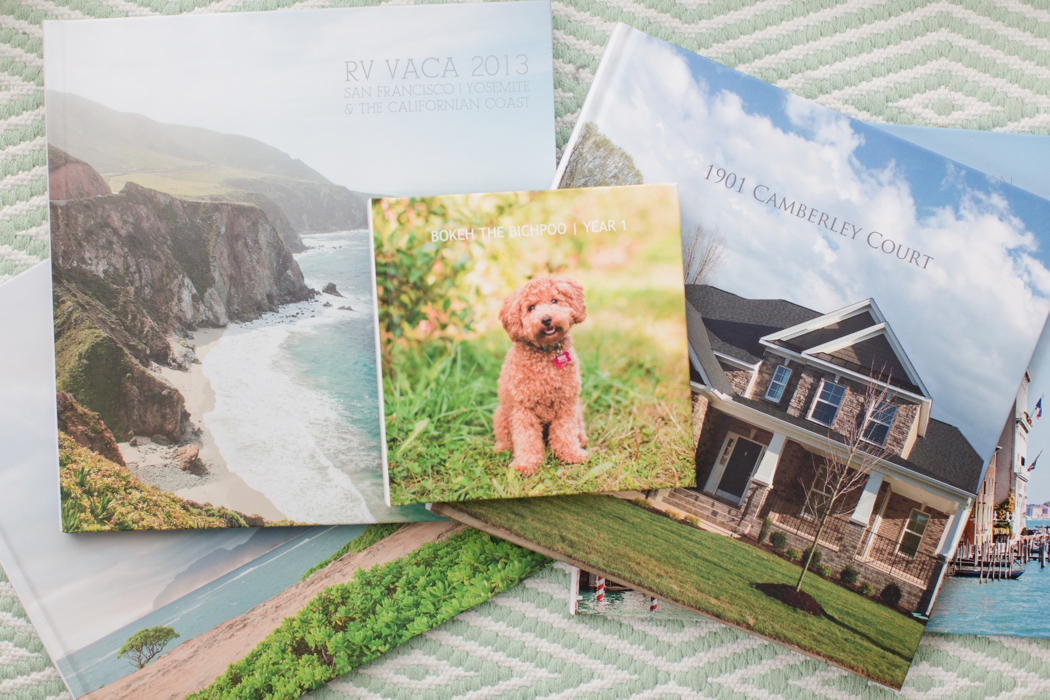
If you want to save this for later, Pin It!!