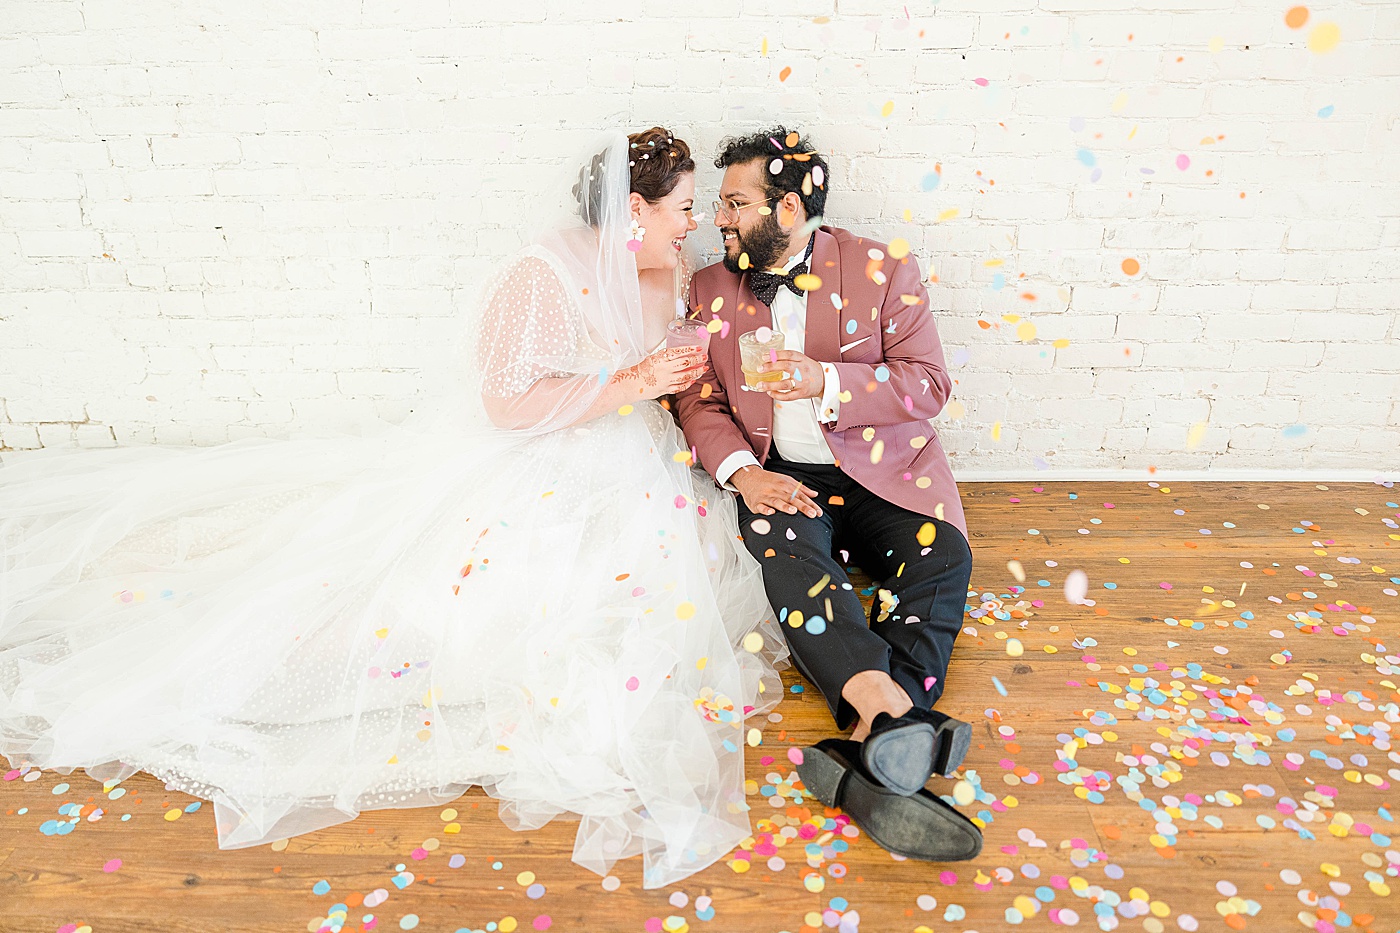
Let’s think about this from a different perspective… let’s compare it to a workout. Imagine, you’re about to do a big workout that’s going to require a lot of you and in order to get the most out of this workout and truly feel like you’re doing your best work, you need to do a proper warm-up. Without a proper warm-up, you’ll throw your body into a situation that it wasn’t prepped for and it can affect your performance for the rest of the workout as a whole. You need to have a well thought-out, purposeful warm-up that will get your body in the right frame of mind and the right physical condition to be able to continue on with your workout in a healthy way.
The CREATIVE side of your BRAIN works the same way.
If you’re a wedding photographer, whether you like it or not, you need a “warm-up” period!
Bridal details are the most natural time and opportunity to do this on a wedding day! You aren’t interacting and posing your bride, you’re working with details and you have some time to yourself! The secret to a successful warm-up period on a wedding day is to have PATTERNS and a PLAN! Without these two things, you’ll find yourself frustrated and floundering around… just throwing together detail shots and hoping something will turn out.
There is a better way!!!
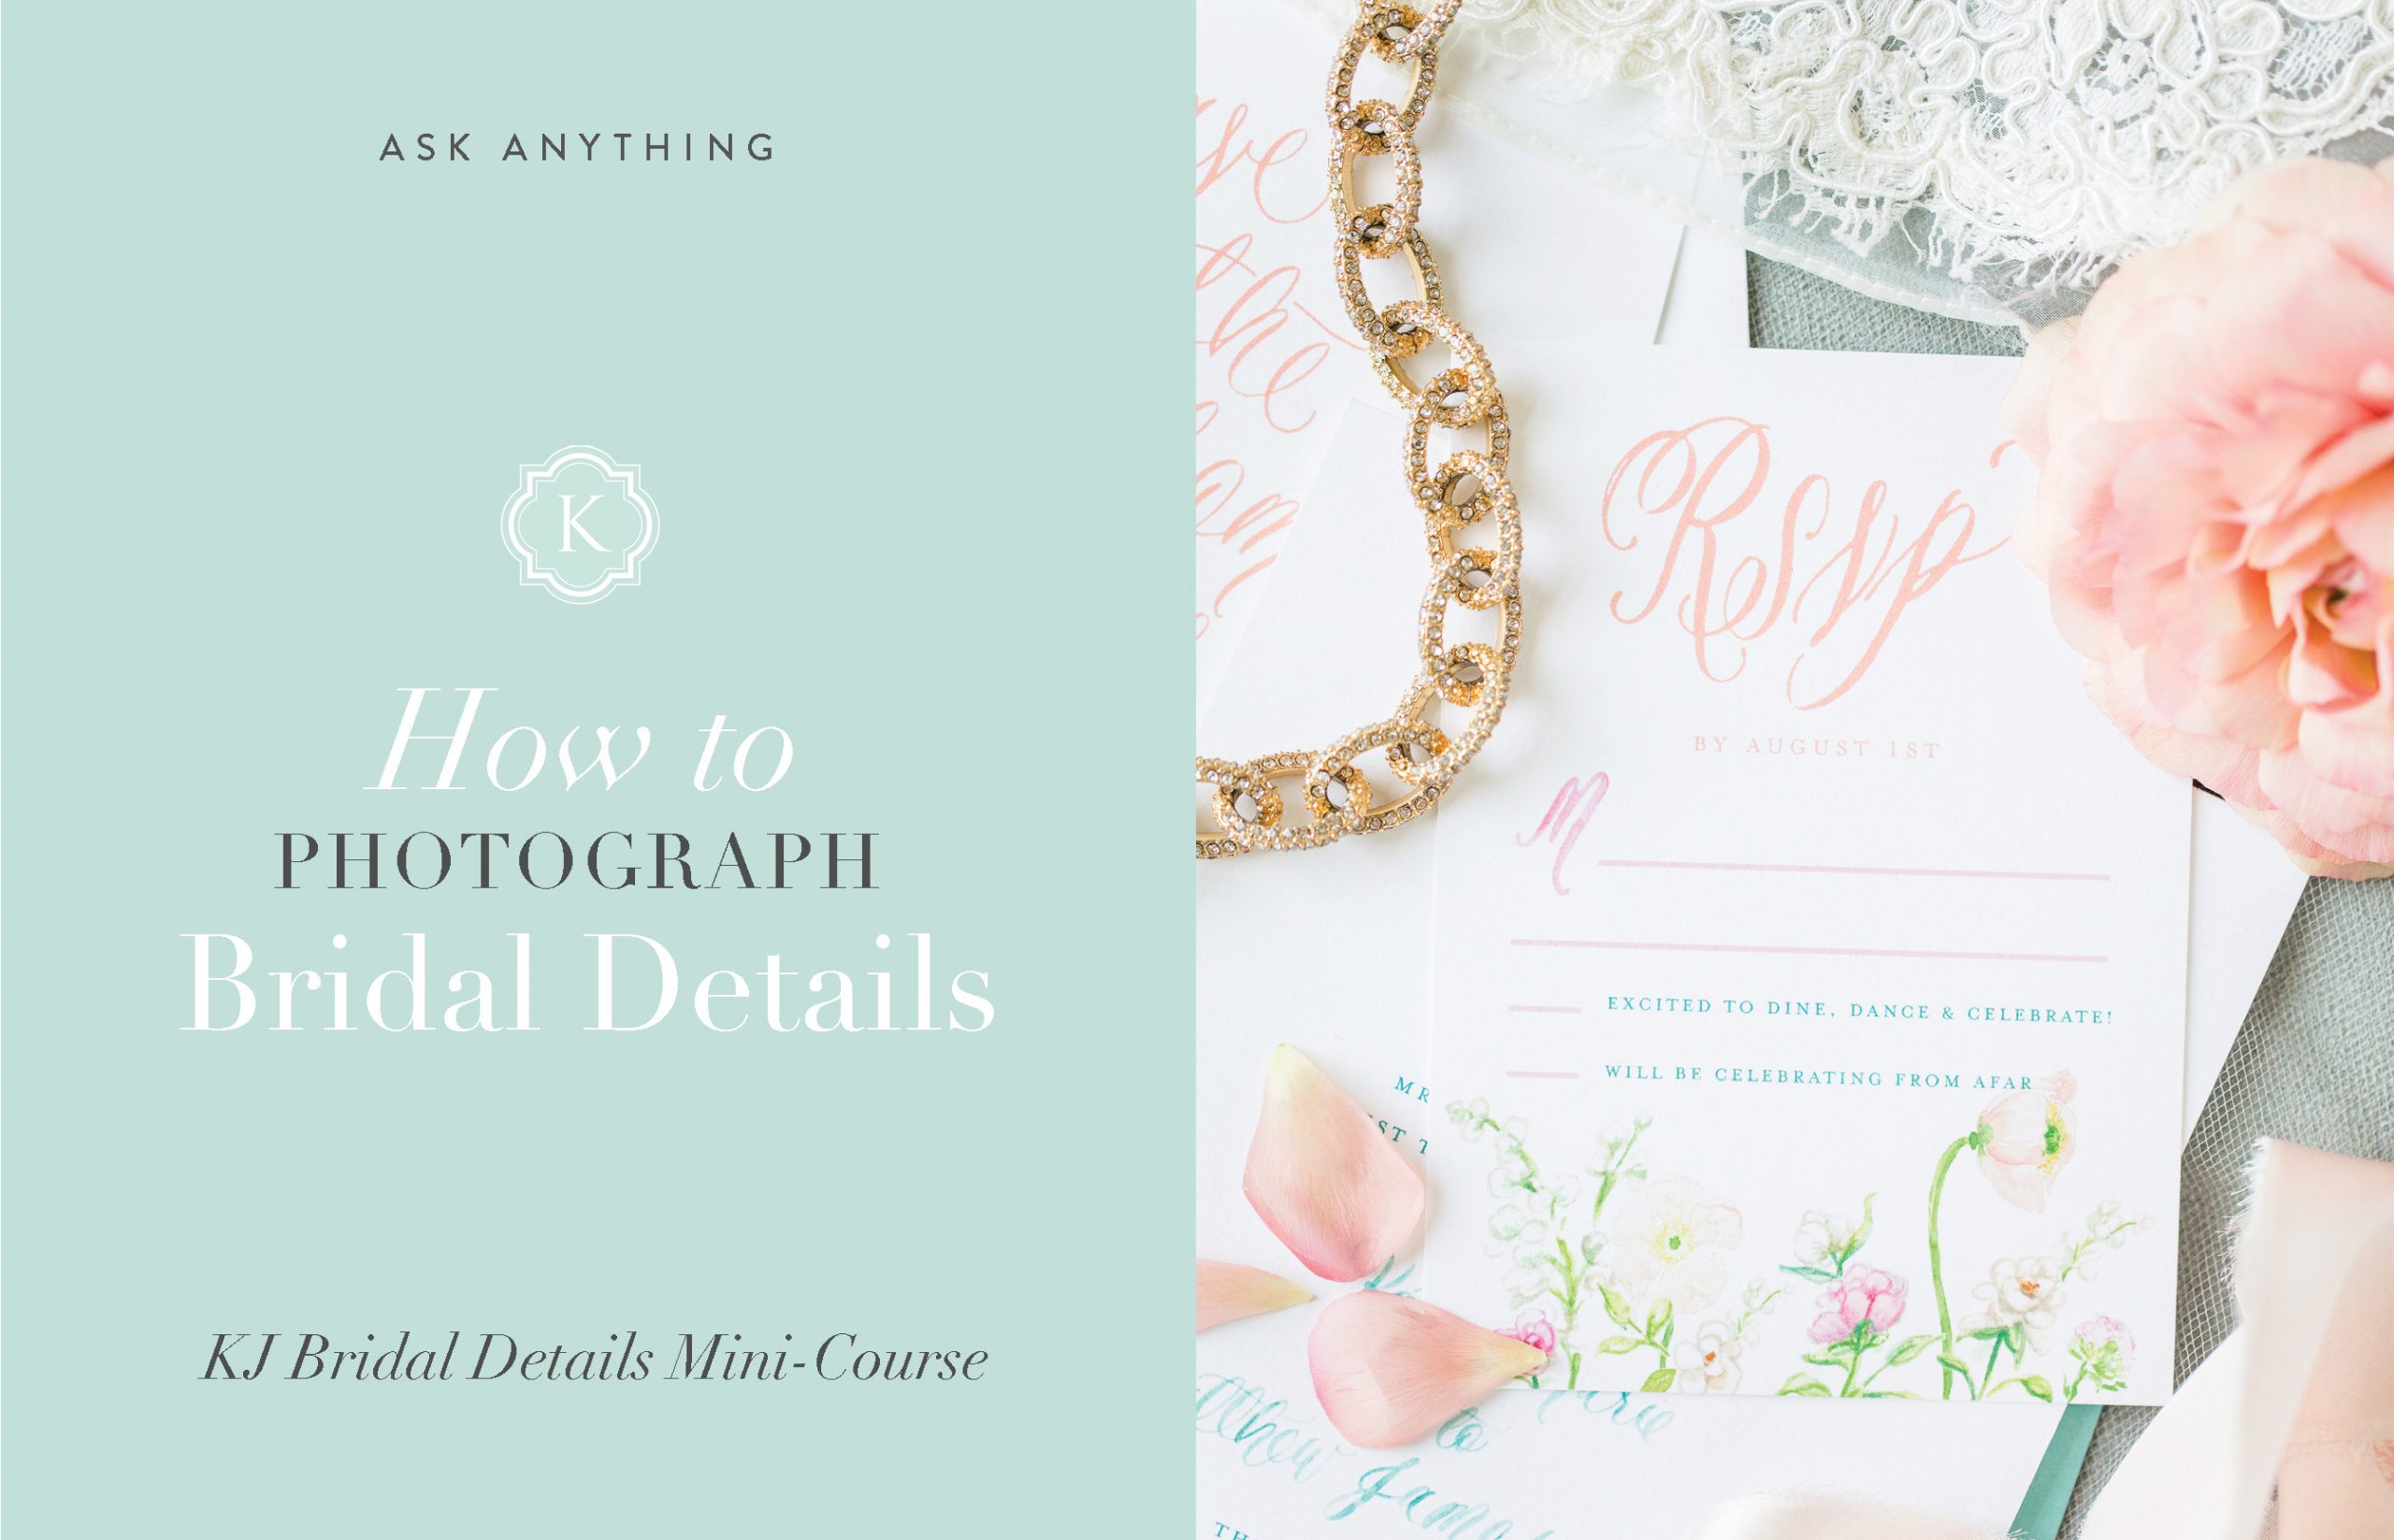
In our KJ Bridal Details Mini-Course, I outline everything I do to ensure that my time capturing bridal details is effective and efficient! From the way I order my priorities as to what needs the most of my time to the patterns I use to get the shots I need, it’s all strategic yet flexible. That’s the beauty of my approach! I’m not going to give you strict rules to follow because where is the creativity in that?! But I AM going to give you patterns and systems that can be applied to ANY situation, ANY style of wedding and ANY amount of details!
In the KJ Bridal Details Mini-Course, I walk through my approach to tackling Bridal Details in a creative, stress-free way that results in images that flow together and can pair well together without competing or being overly redundant!
So, if you’re not a member of the KJ Bridal Details Mini-Course, here are a few things you need to have in order to capture Bridal Details in an editorial way:
- Have a list of priorities and an order for your shooting that you replicate at EVERY single wedding! (I share mine in the course!)
- Have a step-by-step approach to styling an invitation flat-lay! This means approaching invitation-shooting the same way every time so that you start to memorize a system that works instead of haphazardly piecing it all together and getting overwhelmed!
- Memorize the basic design rules of styling a flat lay! : Margins, negative space management, adding line, softeners and some form of “dots” (I share all of this in full detail in the course!)
- Make sure your detail system allows you to shoot in not ONE background setting but TWO if there is time! (Our course students learn that this is the KEY to great pairings!)
Oh, there’s so much more I could share but this blog post is getting long! So here are the final images from the Bridal Details Mini-Course! I originally created this post for our course students so that they could see how I took the images they watch me style and capture and see how I organize the blog post!!!!
So, as you scroll through these images, I’ll be speaking directly to our course students to help them see how the process they have learned is coming to life!
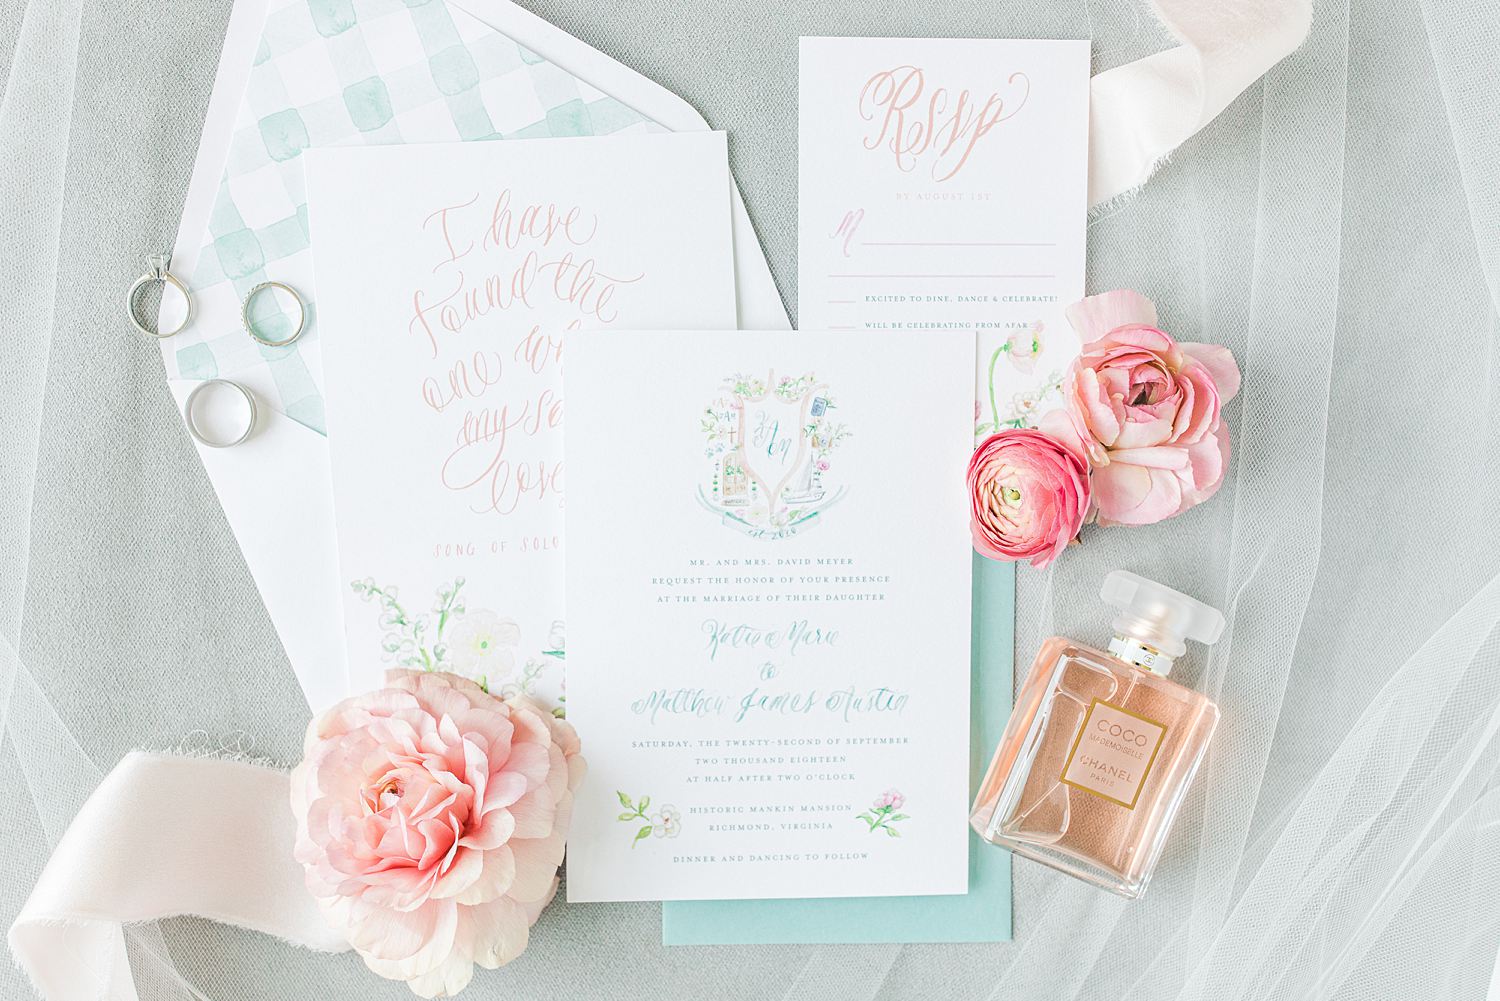
So, the image above is the second pattern in action and the left image below is the third pattern to my overall approach to prioritizing my details in a certain order! The image below on the RIGHT is the result of Pattern #5! Notice the backgrounds of these paired images aren’t competing but can be used together well! This doesn’t happen by chance, it happens because of deliberate decisions while shooting!

Another result of Pattern #3!


These are two examples/results of Pattern #3 that work side by side because of different angles that they were shot and the amount of compression behind the perfume bottle. The compression creates non-competing edges.


I blogged this dress shot in B&W because (if you’re in the course, you know!) this wasn’t the best location for a dress shot. It worked but this hotel room had a weird, yellow hue to the walls, the windows were tinted grey and so even with the best adjustments, the colors of the dress shot were too far from the theme of the other detail images and so a B&W shot was less distracting!


Mini-course students, you can view this ring shot as another take on Pattern #5! Above, you saw the ring shots on the invitation… by applying Pattern #5 to my ring shots as well as some other details, I get so much more variety and often times, great horizontal images to break up the busyness of so many paired vertical images!


This pairing below is the results of Pattern #5 applied to the rings and doing Pattern #1 fully!


If you read through this and you’re wanting to know more about my patterns, my priorities, my systems and my solutions to the common frustrations of shooting bridal details, you’re in luck! The KJ Bridal Detail Mini-Course is still available and it’s only $149!!!

Whether you’re a new photographer who is just diving into the wedding industry or you’ve been doing wedding photography for a long time, this Mini-Course will be a game changer for you! When we first released this course, we made it available on a Thursday and photographers saw results after their weddings THAT SAME WEEKEND!!!!


If you’re wanting to learn more, CLICK HERE! We would absolutely love for you to have access to all 15+ lessons and 3+ Hours of content that include teaching and demos!!!