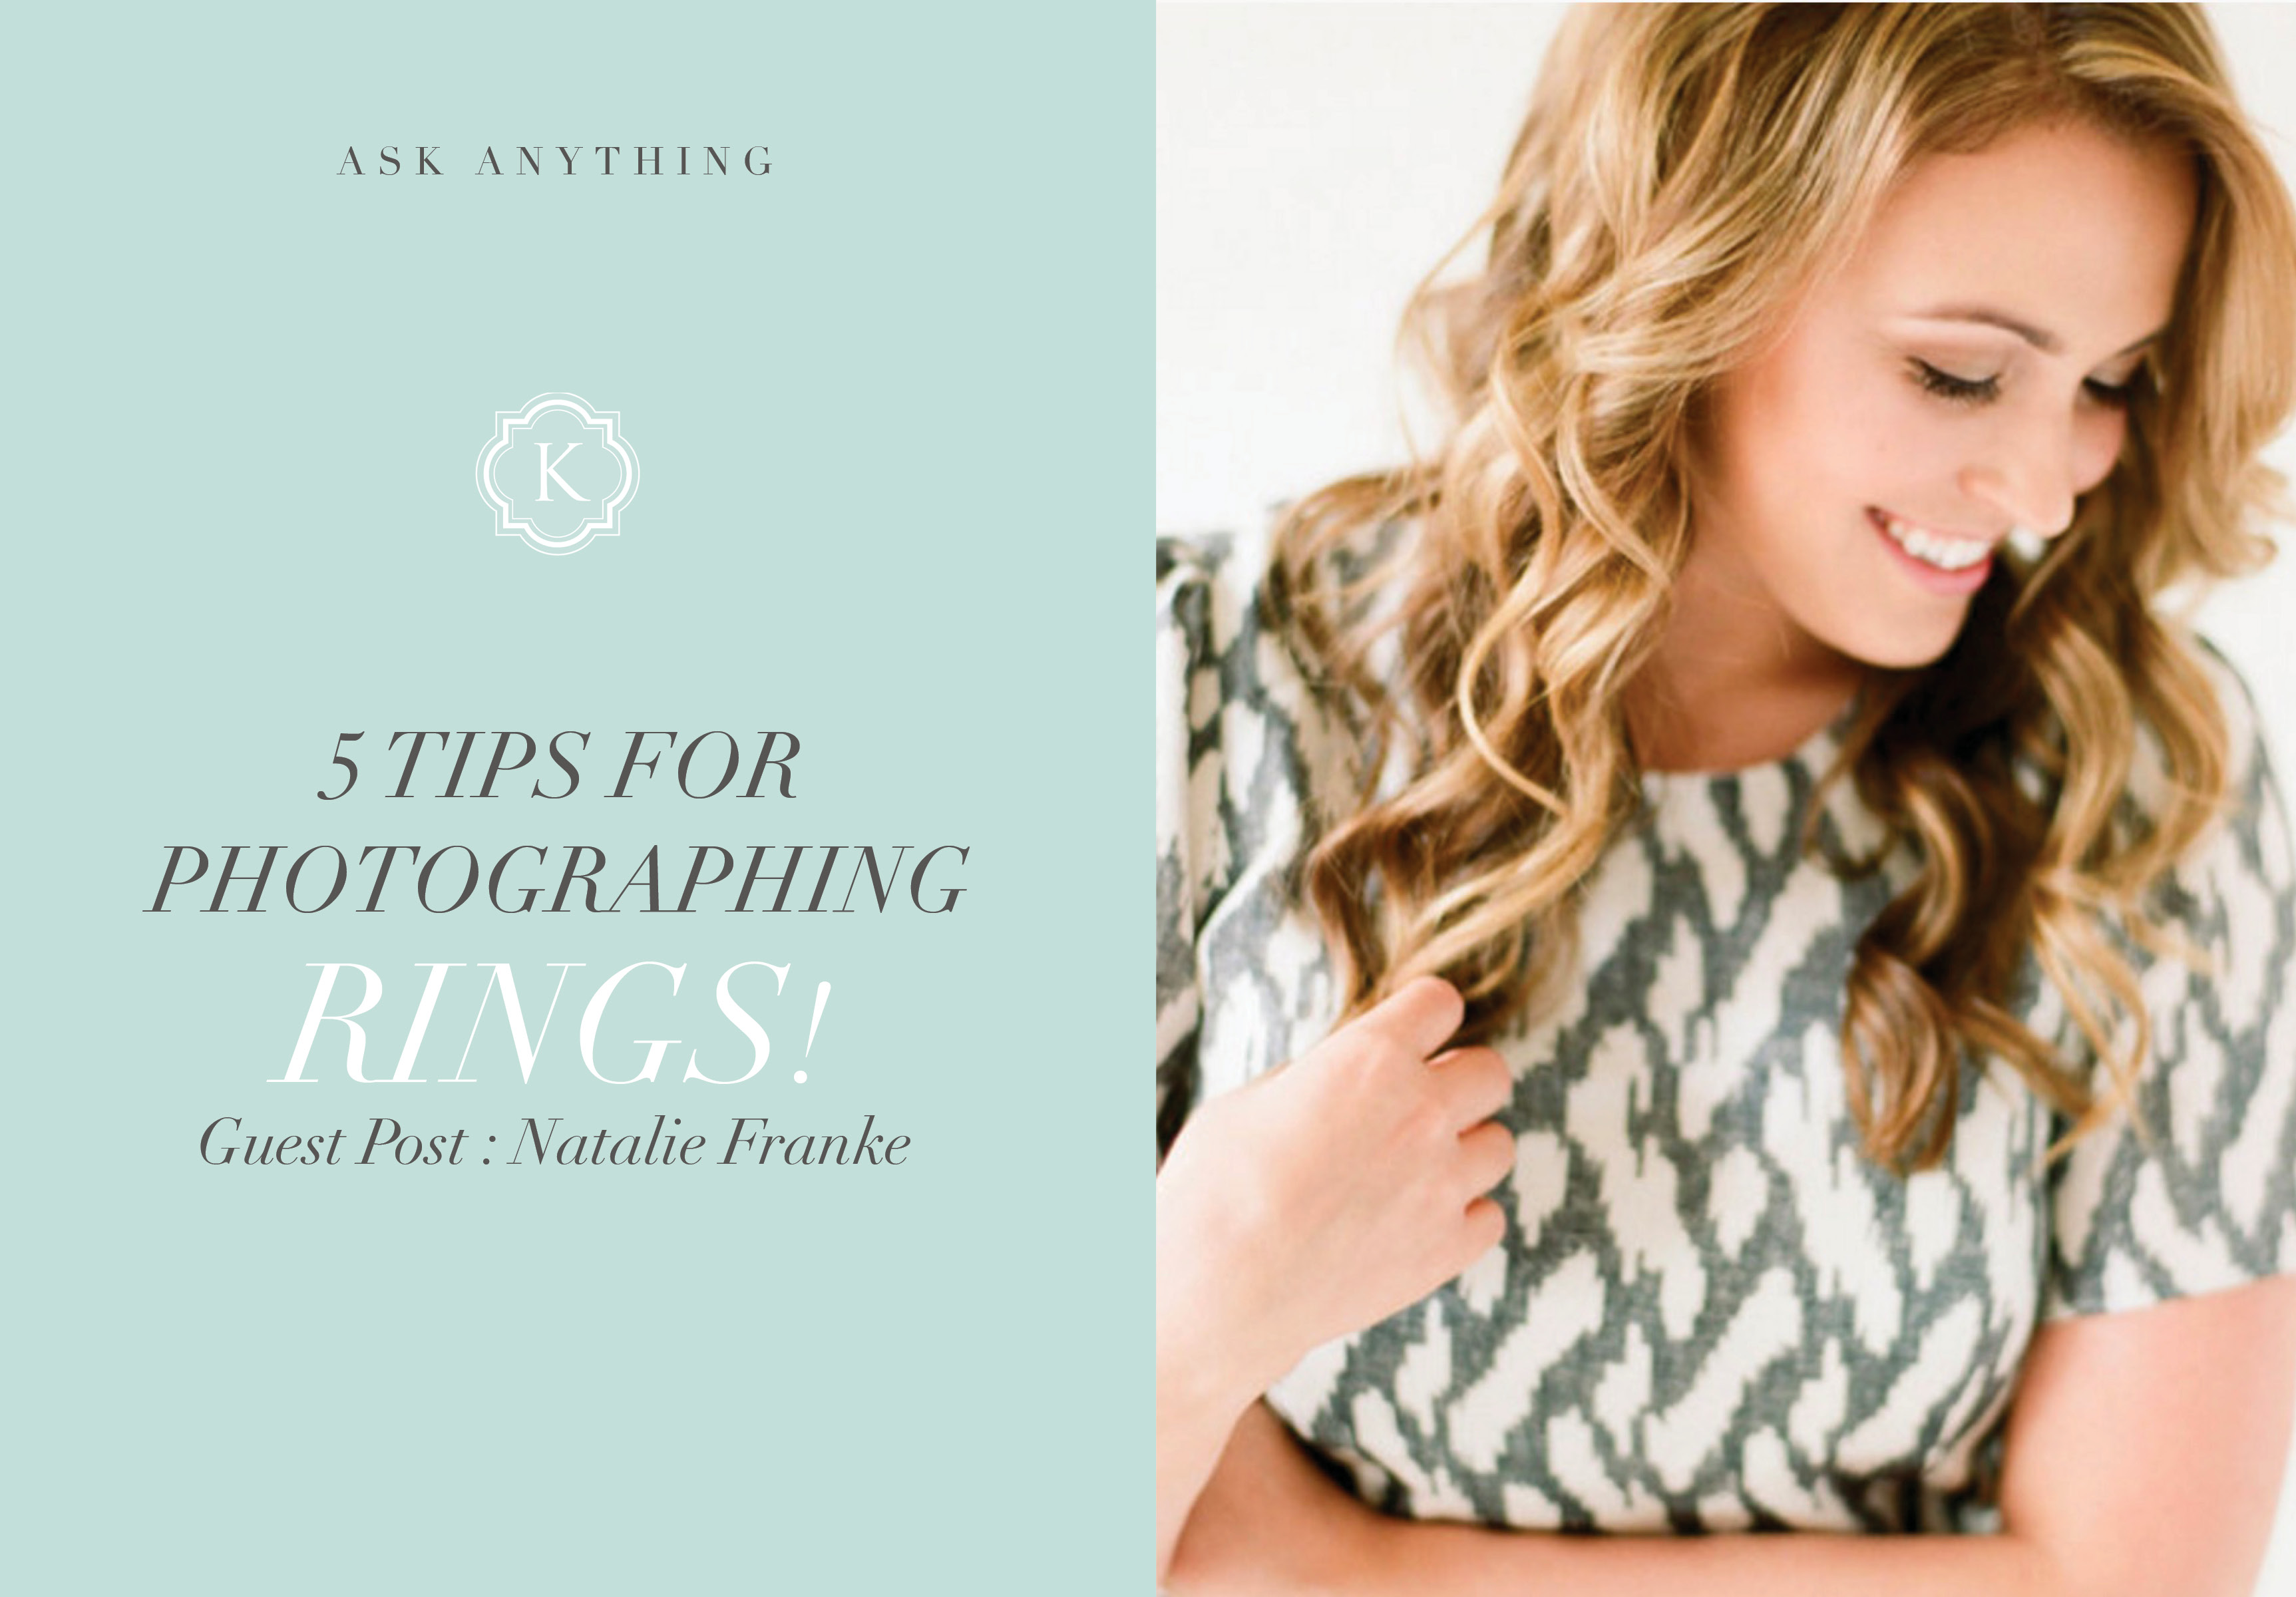
Before you keep reading, you have to have to take a minute to see Natalie’s brand new site that was designed by the incredible Jen Olmstead! It’s absolutely stunning and I’m so excited for her! It was launched just last week and it’s so perfectly her!! You can view it HERE!
Five Tips for Photographing Rings
Years—that’s how long it took me to finally love my wedding and engagement ring photographs. No matter what I did, my ring shots would turn out slightly blurry, back-focussed, or downright dull.
Over the last few years—through hours of practice, I have reached the point where I’m confident in my ability to consistently produce the macro moments that I’m envisioning in any given situation! Seemingly simple, these marvelous sparklers can pose quite a challenge for even the most experienced photographer.
So let’s keep it real: If you’re still struggling to get the perfect ring shot that you want with your detail images, please don’t give up! It takes a lot of practice and patience, but with time you’ll be taking that beautiful idea in your mind and translating it directly into the camera!
Tip #1: Use a Macro Lens
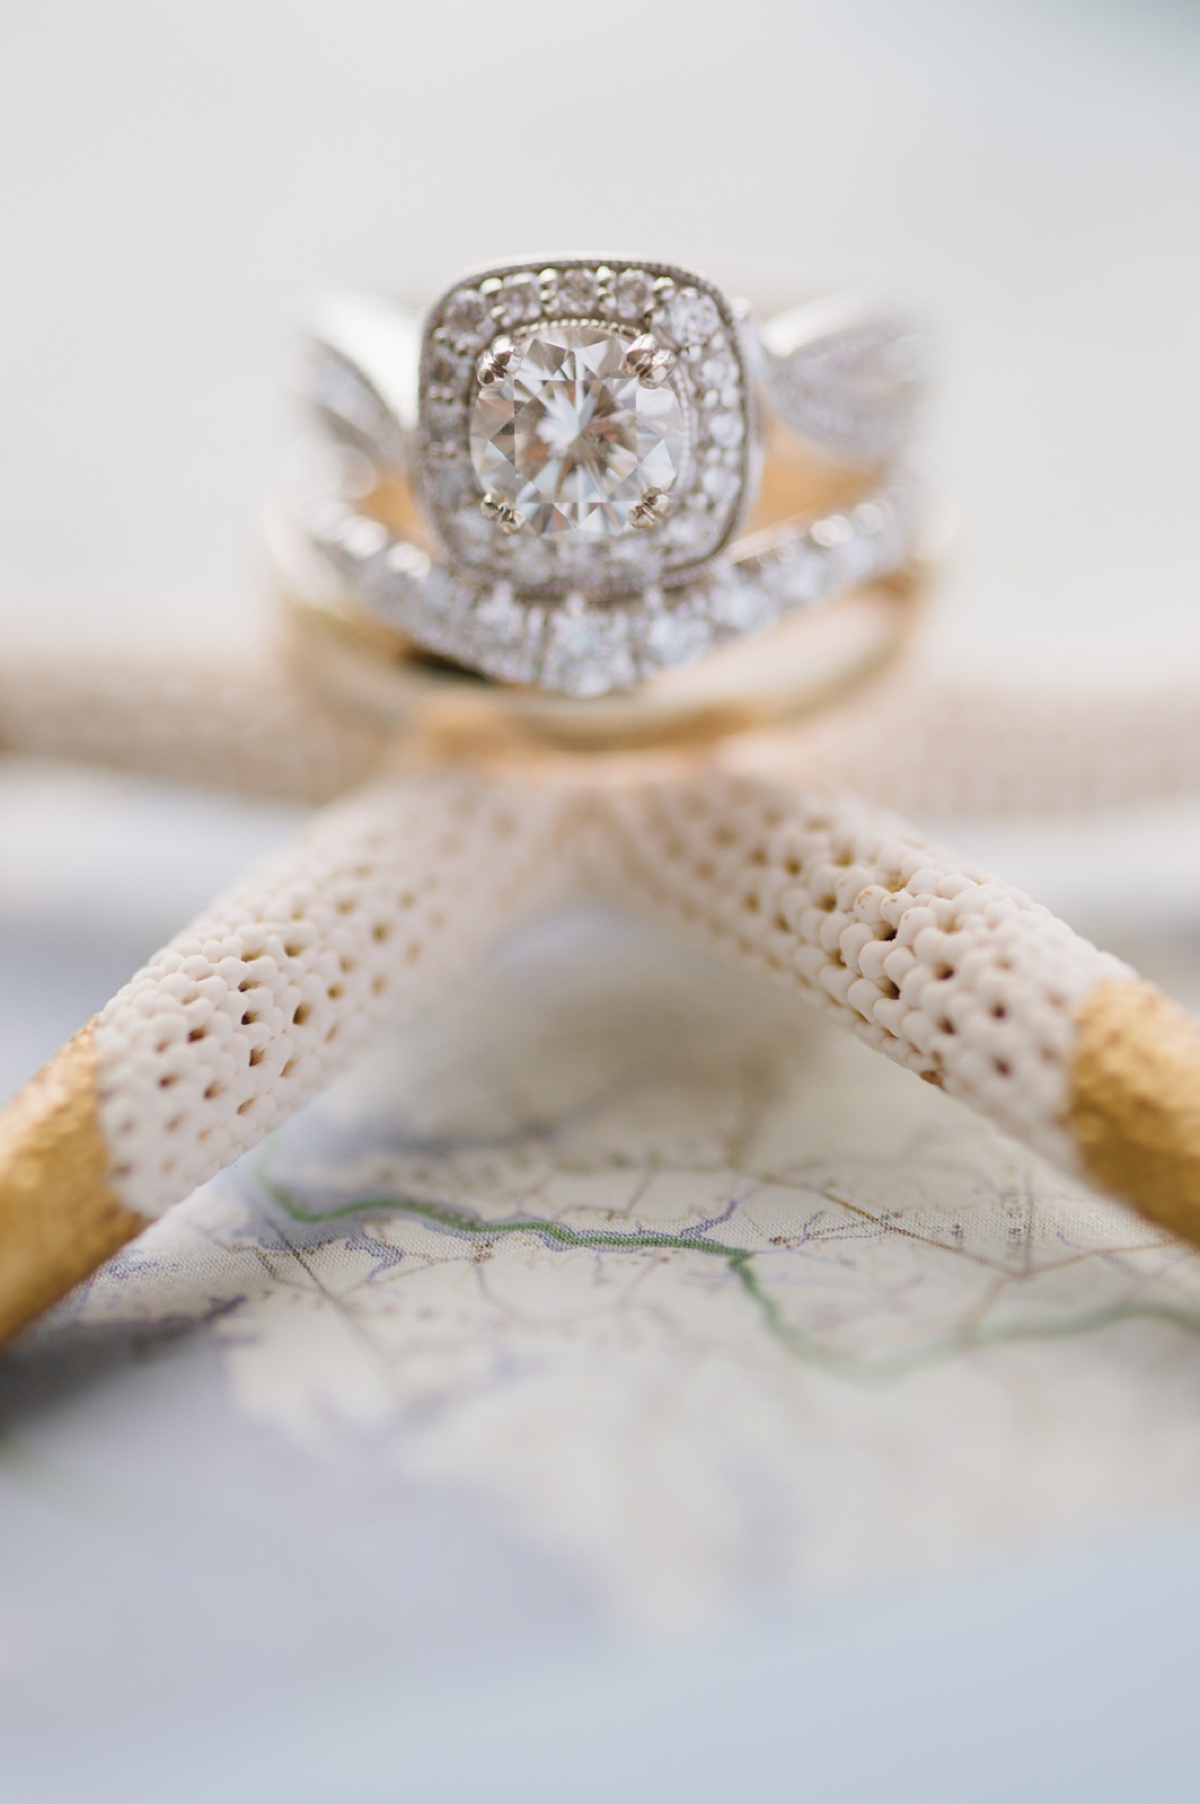
The first and most important tip I have for capturing more dynamic engagement and wedding ring photographs is to use a Macro Lens. If you aren’t familiar with macro lenses, they are particularly useful for capturing smaller objects because they are capable of creating photographs up to life size (with reproduction ratios greater than 1:1). So that tiny ring that feels so insignificant when photographed with my nifty 50mm lens, comes to life behind the magnified feel of a my macro 105mm f/2.8.
My Lens Choice: I personally love the 105mm focal length for capturing ring shots because it allows for slightly more compression in the background, although any macro lens will give you a leg up! I first bought my 105mm f/2.8 back in high school and it has been a crucial part of my camera bag ever since!

Tip #2: Light Is Everything
Most of my ring shots are created with soft, directional window light that helps me to achieve the romantic look that I love. At the start of the wedding day, I walk into the room where I’ll be shooting the bride’s details and I find an ideal space to style the rings. First, I turn off any incandescent bulbs and utilize the gorgeous rays streaming through the window! Then, I’ll position my reflector (or white poster board) in the room to direct light back towards the rings (in a pinch we’ve used the back of white invitation envelopes + a pillow right off the bed!) This lighting remains the same throughout all of the details that I photograph so everything flows consistently!
Tip #3: Turn off Automatic Focus and go Manual
This is the only time that I would recommend turning off automatic focus on a wedding day, but it truly does the trick!
Manual Focus is my preferred method for shooting nearly all of my ring + jewelry shots because it allows me to achieve the sharpest clarity with the quickest speed. Although my 105mm Sigma is fantastic, it is known to be sluggish to narrow in on the focal point that I’ve selected. By switching into Manual Focus mode, I can quickly determine what elements I want to remain crisply in the focal plane and which are better left blurred in the gorgeous array of bokeh surrounding my subject.
*Pro Tip: When focussing, aim for the space where the metal prongs first touch the diamond’s surface. This will prevent your ring shots from feeling back-focussed or out of touch with the sparkle of the stone. When stacking multiple rings, remember to keep that focal plane in mind and try to align the edges of the rings linearly.

Tip #4: Include Important Detail Elements
Oh yes! Guys—this is where the fun truly gets underway! I often gather pieces of fabric and lace alongside the shoes, bouquet and invitation suite when I’m shooting the bride’s details to include in the ring shot.
In selecting where to shoot the rings, I try to pay attention to textures and colors that will create the look I’m going for. Soft neutral elements, like the bridal gown, lace ribbons, and shimmering accessories help to establish a elegant high-end look, whereas bright colors with dramatic contrasting textures can give a more fun and playful feel.
*Pro Tip: Use detail elements to help you balance the rings. For example: if you’re struggling to get the three rings (engagement + two wedding bands) to sit a certain way, consider running a ribbon through them or leaning a few of the rings against the chiffon ruffle of a bridesmaids dress!
Also keep in mind the overall color palette of the wedding day to ensure that the ring shot will look beautiful beside them in the album or on the blog! This is one of the reasons why so many of my ring shots are styled alongside the wedding details and are actually photographed on the bouquet, paper goods, or shoes!
Tip #5: Shift Perspective
One of the easiest ways to improve your ring shots is to simply change your perspective and try shooting from different angles! You don’t always need to photograph the rings straight on!
For Example: Shoot from ground level and allow the foreground to blur leading you towards the ring. Stand directly above the rings and shoot down at them. Return to ground level and angle yourself at a 45 degree from the perpendicular to get a gorgeous side angle. You can simultaneously manipulate the focal point to bring the viewer’s eye to different places within the frame.
I also really love shooting just below the rings and angling my lens slightly up at them! I’ve found that whenever you angle yourself in this way, the rings appear almost larger than life and it creates a slightly more dramatic feel!
And a bonus tip—because at the end of the day this is the big one… Practice makes perfect! Don’t get discouraged and remember that every practice shot gets you one shutter closer to your ideal image!
Be sure to follow Natalie so that you can continue learning from her!
*** A huge thank you to Abby Grace for organizing our guest posts during our surgery season and first couple weeks of maternity leave! We are SO thankful! ***