")


")


")


As a professional wedding photographer, I’ve encountered my fair share of editing challenges on the job.
While we strive to capture the perfect shot in-camera, the reality of a wedding day often presents us with less-than-ideal conditions that require some post-processing magic. In this blog post, I’ll walk you through the top 5 editing nightmares I’ve faced and share my proven strategies for overcoming them.
Nightmare #1: Distracting Ceilings
One of the most common issues I encounter is dealing with distracting ceilings, whether it’s an unsightly pattern, a vibrant color, or a stark contrast against the bride and groom. While we may not have control over the venue’s decor, there are a few tricks we can use to minimize the impact of these distractions during the editing process.
Solution: Strategic Cropping and Selective Desaturation
The first step is to carefully evaluate each image and determine the best crop to eliminate as much of the distracting ceiling as possible, while still maintaining the desired composition and subject focus. In some cases, a tighter crop may be necessary, but be mindful of not losing important elements of the scene.
If the ceiling color is particularly vibrant or distracting, consider selectively desaturating that area of the image. This can be done using targeted adjustment tools in your editing software, such as the Adjustment Brush in Lightroom or the Selective Color tool in Photoshop. By reducing the saturation of the ceiling, you can draw the viewer’s attention back to the main subjects and create a more cohesive, visually appealing image.
Nightmare #2: Color Casts from Floors
Another common issue I’ve encountered is dealing with color casts from the floor, often caused by reflective surfaces or vibrant floor tiles. These color casts can cast an unflattering hue on the skin tones of your subjects, making it challenging to achieve a natural, balanced look in your final images.
Solution: Selective Color Correction and Masking
To address this issue, I recommend using selective color correction and masking techniques in your editing software. Start by identifying the areas of the image affected by the color cast, such as the bride’s dress or the groom’s suit. Then, use tools like the Color Adjustment Brush in Lightroom or the Curves adjustment in Photoshop to selectively adjust the color and tone of those specific areas, bringing them back to a more natural and harmonious state.
Additionally, you can use masking techniques to isolate the affected areas and apply targeted adjustments without impacting the rest of the image. This allows you to precisely correct the color cast without introducing unwanted changes to the overall image.
Nightmare #3: Mixed Lighting and Skin Tones
Weddings often present a challenging mix of lighting conditions, from natural daylight to artificial indoor lighting, and this can result in inconsistent skin tones across your images. Ensuring a cohesive look and feel to your wedding gallery can be a real headache in these situations.
Solution: Comprehensive Color Grading and Skin Tone Adjustments
To tackle this issue, I recommend taking a comprehensive approach to color grading and skin tone adjustments. Start by evaluating the overall color temperature and tone of your images, and use global adjustments to create a consistent look and feel across the gallery.
Next, use targeted skin tone adjustments to ensure that your subjects’ skin looks natural and balanced, regardless of the lighting conditions. Tools like the Color Mixer in Lightroom or the Selective Color adjustment in Photoshop can be invaluable for fine-tuning the skin tones and creating a cohesive, professional-looking result.
Nightmare #4: Heavy Ceilings, Floors, and Off-Camera Flash
Weddings often take place in venues with challenging lighting conditions, such as dark ceilings and floors, which can be exacerbated by the use of off-camera flash. This combination can result in unnatural-looking shadows, hot spots, and color casts that require careful editing to resolve.
Solution: Balancing Light and Shadow with Compositing and Masking
To address this issue, I often turn to compositing and masking techniques in my editing workflow. This involves carefully blending multiple exposures or images to create a balanced, natural-looking result.
Start by capturing multiple frames with different flash and ambient light settings, then use masking and layer blending modes in your editing software to selectively combine the best elements from each exposure. This allows you to maintain the natural-looking shadows and highlights while minimizing the impact of the challenging lighting conditions.
Additionally, you can use dodging and burning techniques to further refine the lighting and shadow balance, ensuring a cohesive and visually appealing final image.
Nightmare #5: Shadows Cast by Off-Camera Flash
The use of off-camera flash can be a powerful tool in wedding photography, but it can also introduce unwanted shadows that can be tricky to edit. These shadows can create distracting elements in the image and detract from the overall aesthetic.
Solution: Strategic Lighting Placement and Selective Editing
To minimize the impact of shadows cast by off-camera flash, it’s important to carefully consider the placement of your lighting during the shoot. Experiment with different angles and positions to find the sweet spot where the shadows are less pronounced or more strategically placed.
In the editing stage, you can use selective editing techniques to address any remaining shadows. Tools like the Adjustment Brush in Lightroom or the Healing Brush in Photoshop can be used to selectively lighten or remove unwanted shadows, blending them seamlessly into the surrounding areas.
Remember, the key to overcoming these editing nightmares is a combination of in-camera techniques and post-processing skills. By being proactive during the shoot and having a well-rounded editing toolkit, you can transform even the most challenging wedding day conditions into stunning, professional-looking images that your clients will love.
Watch the full episode below! Enjoy!
Also, if you like what you see, you can literally watch me photograph 100’s of wedding and portrait sessions by joining our KJ All Access membership for only $29/month!! Want a look at more? Try it HERE!
Have you seen some of our most popular youtube episodes?
We release brand new Youtube episodes every other week! They range from business topics, personal episodes, gear reviews, technical training and behind the scenes education! If you’ve never explored this part of our photography education, dive in now! It’s free!! Enjoy!
If you want to save this for later, Pin It!!

Thanks for reading!
— Katelyn


MORE RECENT POSTS
As a professional photographer, I’ve had the privilege of capturing countless family portraits over the years. Each session presents a unique set of challenges, from managing energetic children to finding the perfect backdrops.
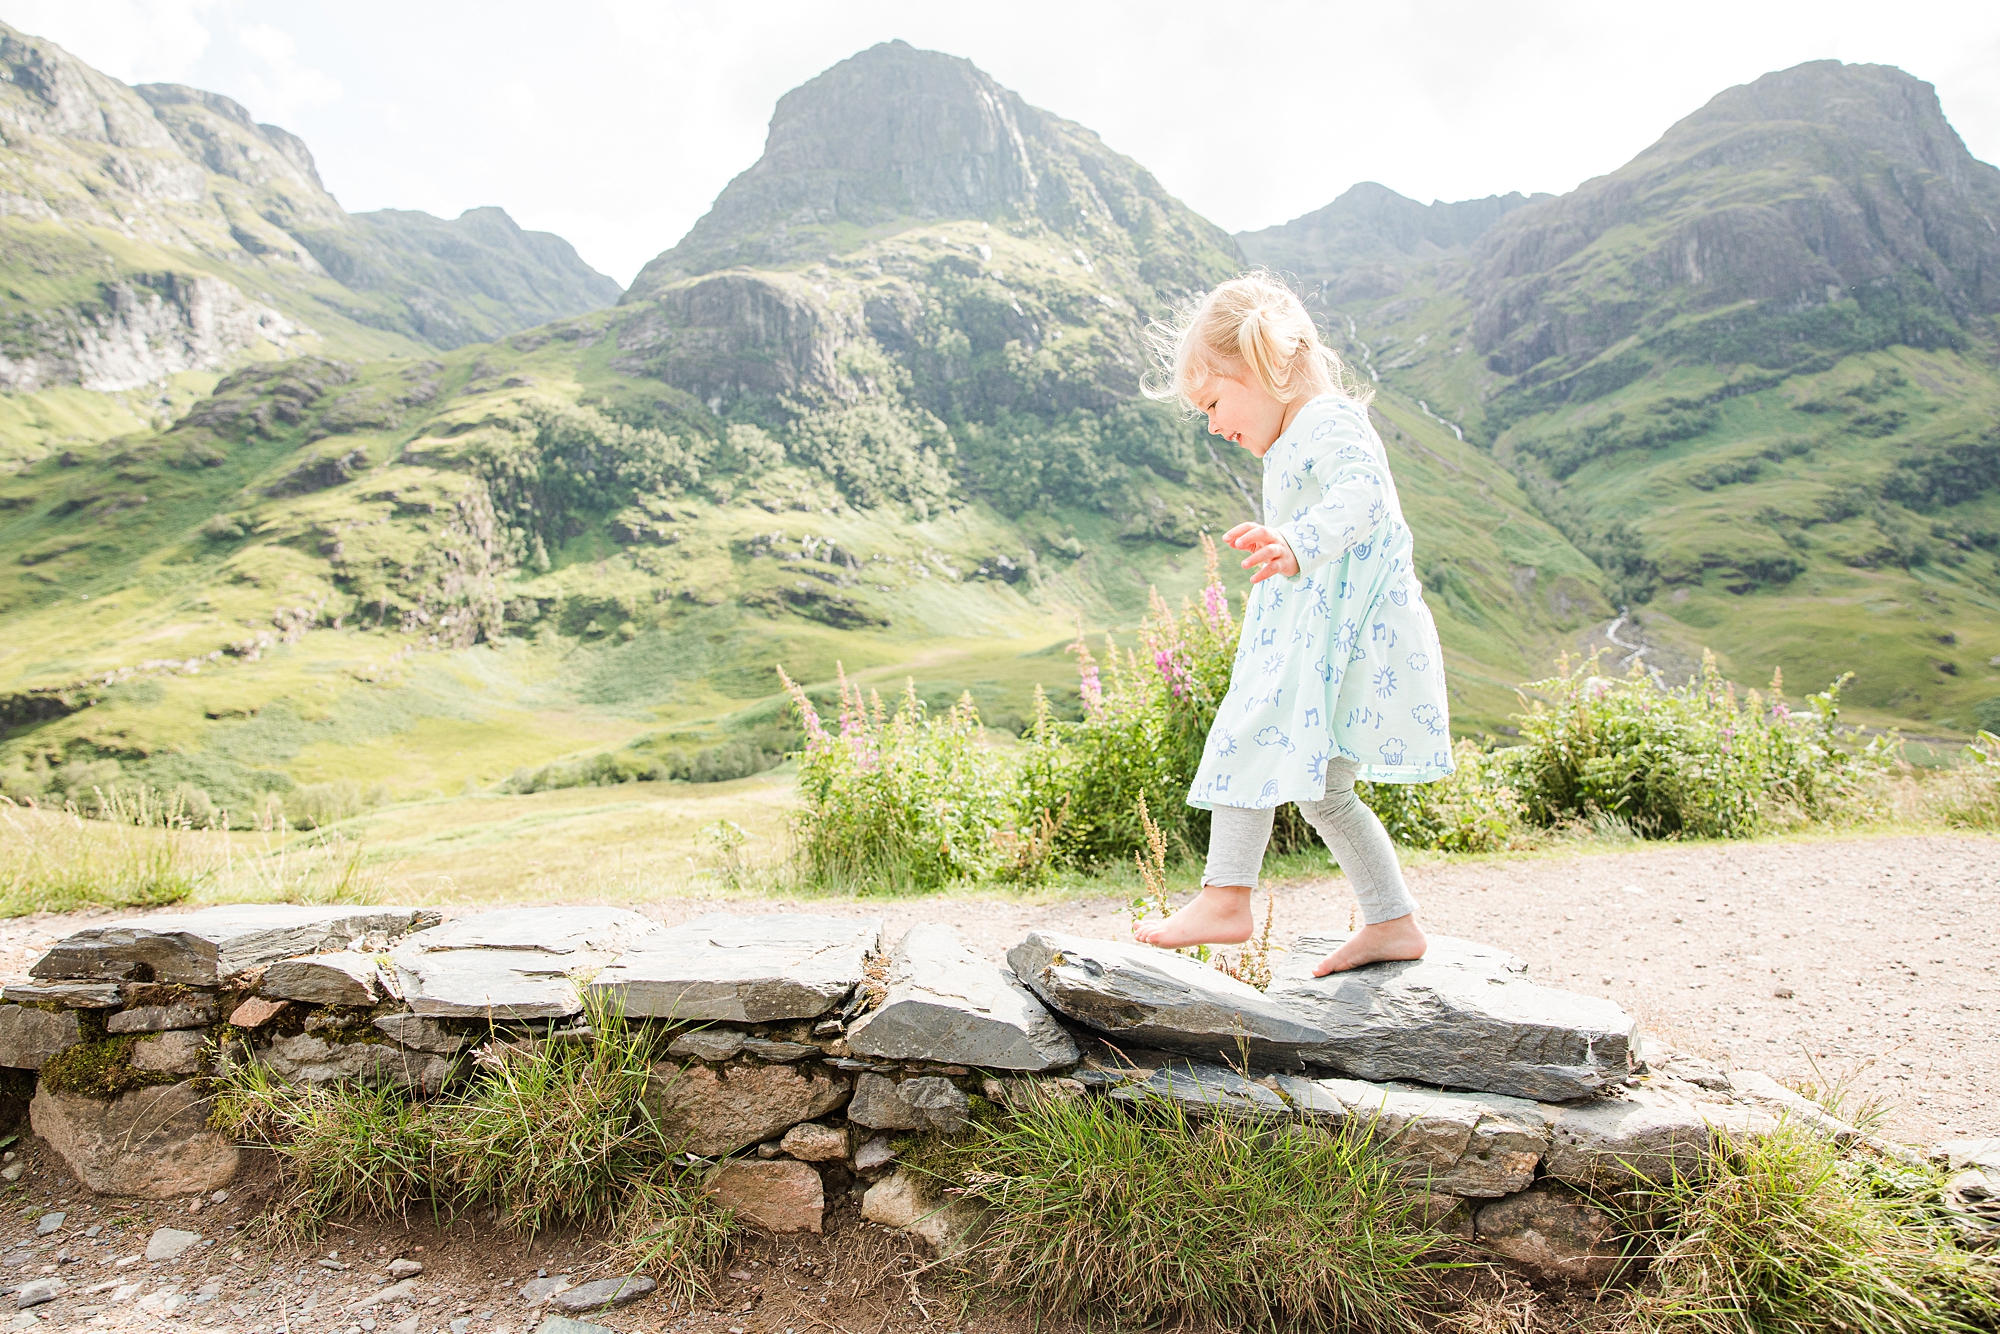
As a photographer, I’ve often found myself in situations where the location seemed lackluster or uninspiring. It’s easy to get caught up in the pursuit of the perfect setting, but the reality is that we don’t always have the luxury of shooting in the most visually stunning locations.


We rescheduled this shoot with the Smith family once because of a threat of rain. It wasn’t a totally horrible forecast but if there’s one thing that I learned about Colleen when I photographed her wedding, it’s that she loves the GLOW!
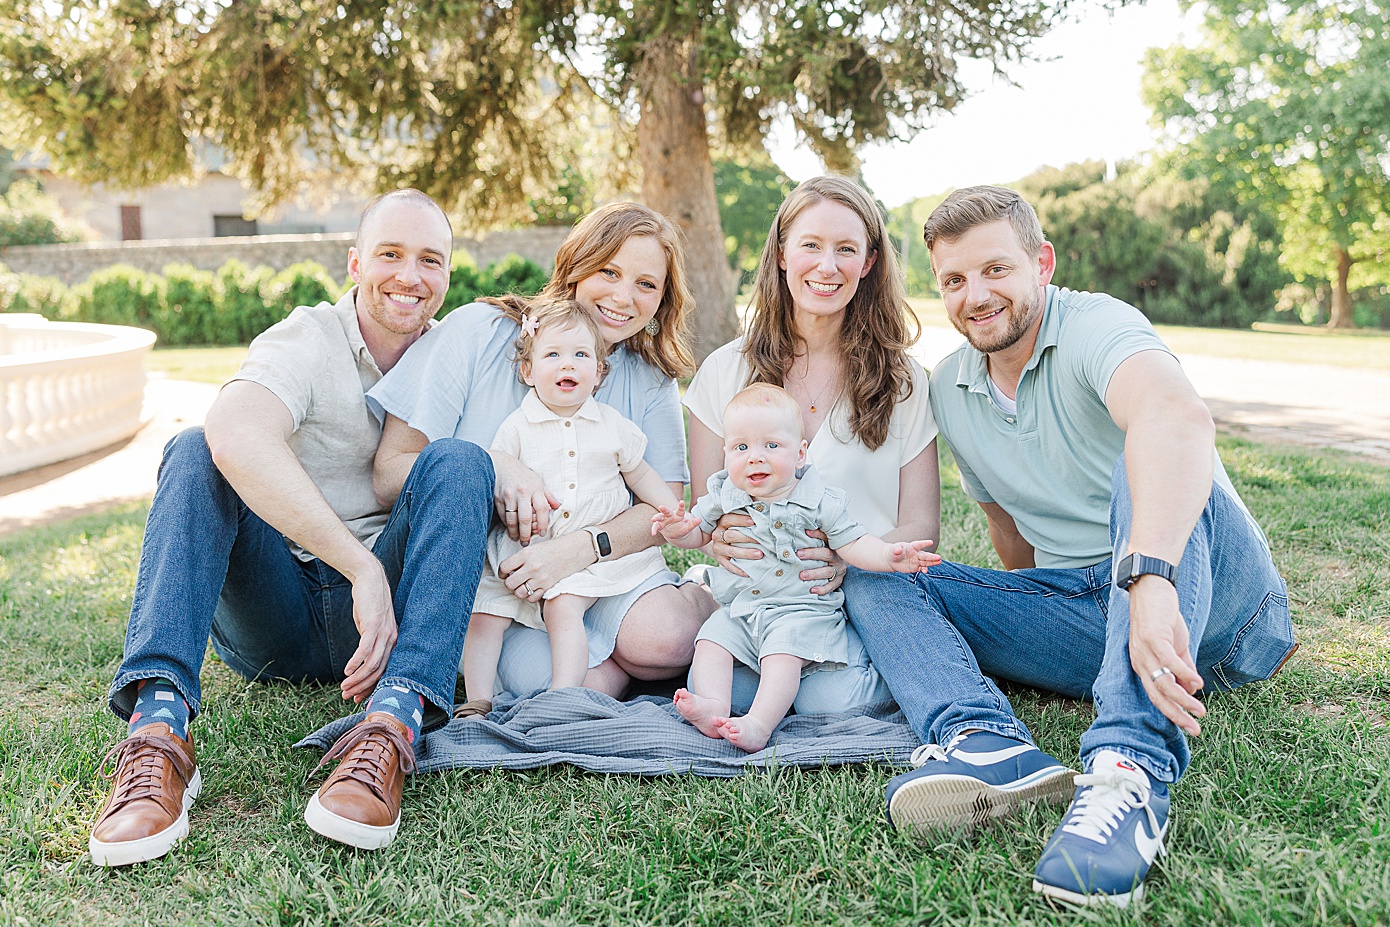
What’s better than doing a family session for one KJ couple? Photographing TWO and adding in Nonna and Grandpa!
As a professional wedding photographer, I’ve encountered my fair share of editing challenges on the job.

Have you ever closed out of Lightroom unhappy with the end result?
Top Personal Posts


Have a little time to read?


"Best money I have EVER spent on education! ... and I've spent a lot!”

"I love all the lessons I'm learning from KJ All Access! Thanks Katelyn!”

"I find very few educational resources worth it ... this one is!”


"Being able to see behind-the-scenes of Katelyn interacting with her clients has been SO impactful!”

"SO worth it! It's amazing the amount of knowledge you get out of them!”

"I learned just as much in one All Access as I did in a whole course! SO GOOD!"

The KJ blog
must-reads


YOUTUBE


")

")


")
")
")
The KJ Learning roadmap

")


")
