
")
")
")
")


")
 GraphicsLogos (3)")
 GraphicsLogos (6)")
")
")
")


")


")


things to do is design sample albums. I love design and I know most photographers do not have a design background and so that thought of albums makes them CRINGE! However, when I’m designing sample albums, the only person I have to please is myself! So I can do really fun things and try new layouts and change it as much as I want! I recently went on a trip with my family to Wisconsin to shoot my cousin’s wedding and on the way out there, I designed 4 sample albums AND a honeymoon album! WHAT?!! Where did
that burst of productivity come from?!! I’ll tell you… that’s what happens when you have 19 hours on the road with NO INTERNET!! Seriously, FB, twitter and blog stats are my ENEMY during the workday! I have started banning myself from all three until I get a ton of things accomplished! Anyway! I designed these albums because I am in DESPERATE need of some new samples! I just haven’t had time recently! It’s been on my list of “goals” for so many months!! So I designed four and I’m going to show you a few pages from Ryan and Annamarie’s sample because I’m obsessed with their wedding! I’m also going to explain a few tips about how to shoot for an album!! But before I do that, here are some resources I get asked about quite often:
Album Design: I use PHOTOJUNCTION to design my albums and I love it! It’s fast, easy and simple!!
Client Proofing: I just export the design in Jpegs and upload them to my client’s wedding gallery on SMUGMUG and they can view and comment on each page straight from their gallery! Again, quite simple and efficient!
Album Company: LEATHER CRAFTSMEN.. I love them, I always have!!
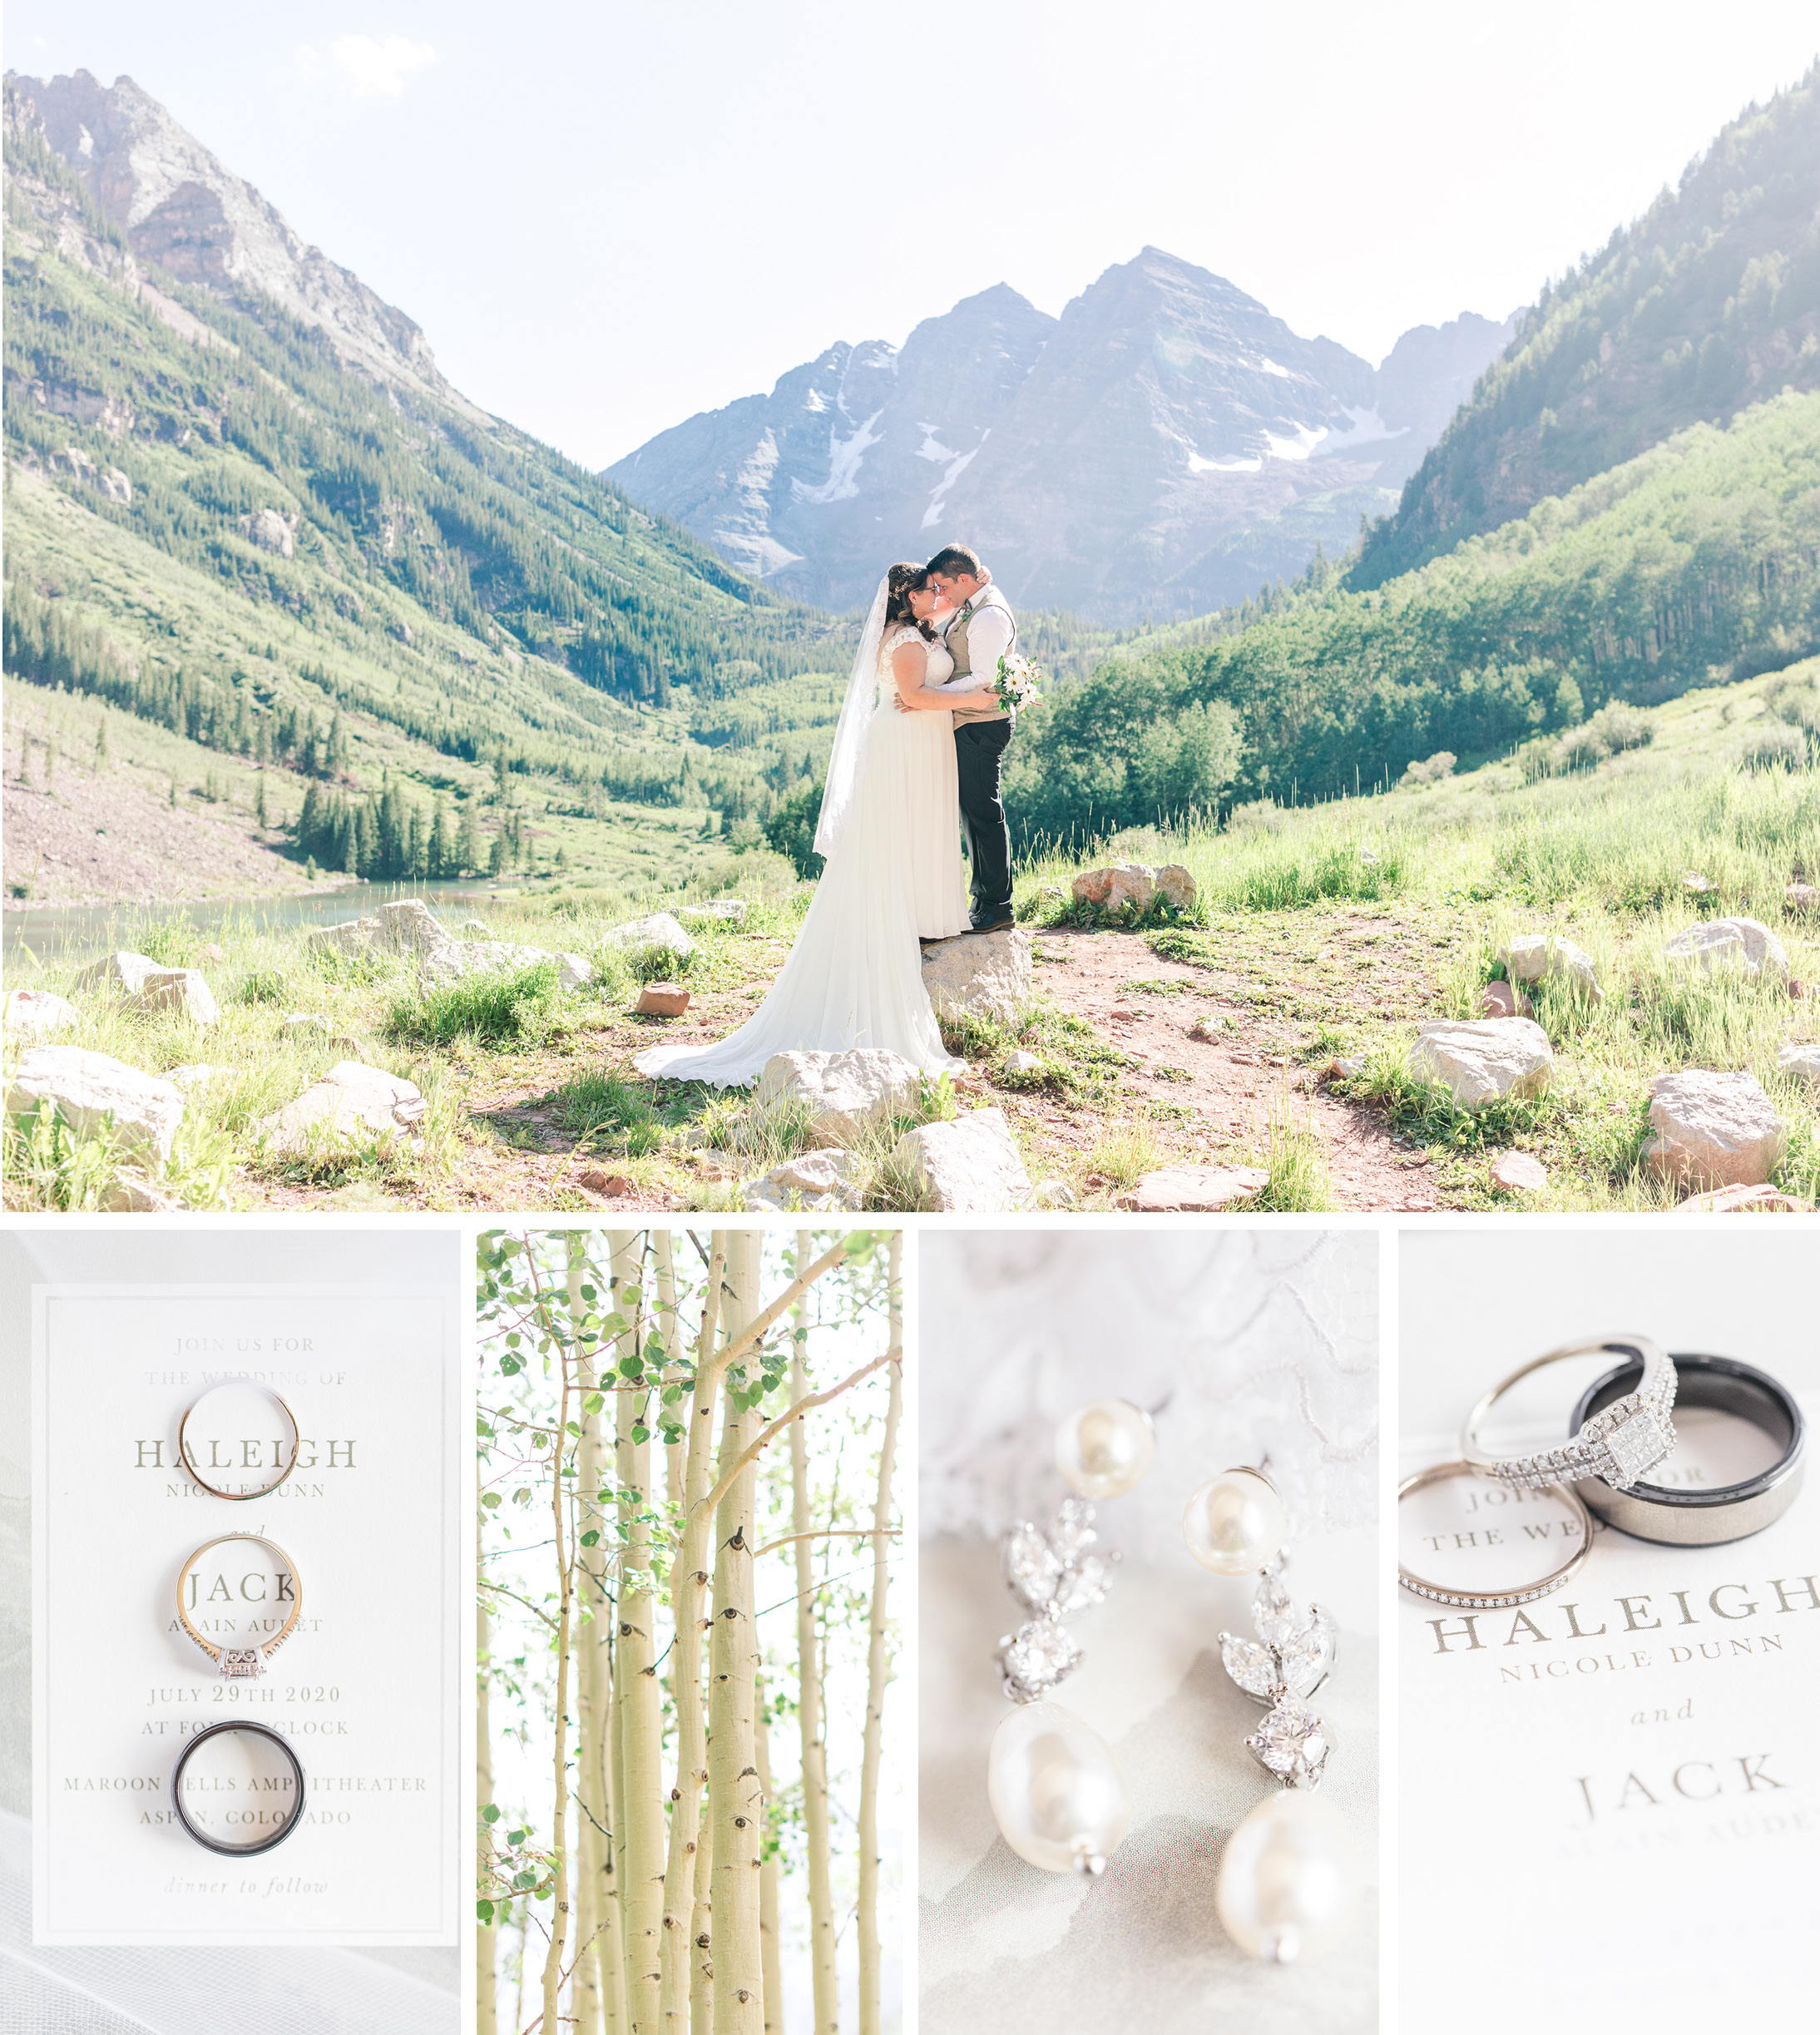
So here we go! Obviously these are just designs, I haven’t received the printed albums yet but I promise you… once they come in, you will be SO sick of seeing my sample albums because I’m going to show them off constantly! I’m so relieved that they are on their way that I can hardly stand it!! Ryan and Annamarie’s sample album is going to be 50pages… yea. I just couldn’t stop! I’m just showing you a few of my favorite spreads! This first spread is obviously of her bridal details. Here’s tip numero uno!
1. Shoot details in a way that makes all the images flow together. I started with the dress and because of the wooden chest, I then shot the shoes on a wooden bench, etc. I knew that these images were going to be beside each other on the BLOG and the ALBUM so I wanted them to coordinate! There were SO many neat things in Anna’s aunt’s house but I chose to shoot the shoes on a simply wooden bench because 1. it was more natural and 2. It totally MADE this spread!! Sometimes it’s worth it to sacrifice some AWESOMELY UNIQUE shot in order to be consistent!
 Again, when I was shooting these little details, I just found some good light and a wooden tabletop and shot them ALL in the same location in order to be consistent.
 2. It can be overwhelming when you have good light and a gorgeous bride but only a few minutes to grab a few bridal portraits. So my second tip for shooting for an album is to start shooting a full length shot, then move in for a torso shots and then shoot a few close shots of the bride. If you’re really in a time crunch, do this as the dress is getting buttoned or tied! Shooting this way will give you SO much more to work with! These three bridal shots were taken within 5 minutes. I changed lenses once and it’s amazing how this album spread flowed so well!!
 3. Shoot in one location long enough to make an album spread. Of course you’re not going to have time to think about the actual album design AS you’re shooting. You’re not a super-hero!! But always shoot several poses in ONE SPOT and you’ll have so much more to work with! People always ask me “How do you have so much time for portraits?!”… well a lot of time, I don’t! I have to maximize the time I have by using multiple poses in one spot! This spread below is a great example of this! The couple hardly moved at all and yet each shot looks different. We probably shot this spread in about 5ish minutes and then headed to the barn!
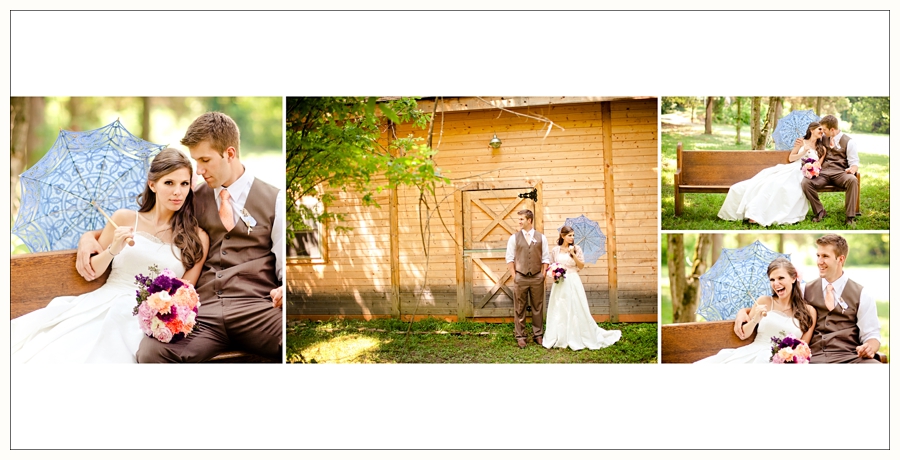
 Same thing as above! Once I got them to the barn and adjusted for the change of light, we just shot in a few different poses and then changed it up a little bit with the parasol!! (loved all of Anna’s props!!)
 When we took some shots with the parasol, I didn’t just take one, we took SEVERAL shots in SEVERAL different poses because when you have a prop like that, more than likely you will have a full spread that incorporates that prop. In this case, that POP of blue made this spread so consistent and I LOVED it! You can also see that I used TIP #2 while shooting this spread. I started shooting from a distance and then gradually moved in closer to the B&G!
 4. I don’t really have any tips for this spread… it’s just one of my FAVORITES and I’m sure you can guess why!!!! TEAL!!

A quick bridal party spread!

5. MORE TEAL! Now that truck wasn’t really a part of their theme but because we used it in their portraits, I took a quick shot of it in case I needed a “filler” shot on the blog or in the album….. and I did! Sometimes those little detail shots can really MAKE a spread. It breaks up the “busy-ness” of the layout! Does that even make sense? It makes sense in my head but if you have trouble understanding what I’m explaining, just let me know!
 6. No tips for this one… just a huge “THANK YOU” to Annamarie and her beautiful bridesmaids for being so photogenic, it’s really ridiculous how beautiful these girls are!!
 7. Use your surroundings to inspire your portraits!! This is how you can guarantee that your weddings will not start looking “the same”.
 8. OH GOODNESS!! This is by far one of my most favorite spreads ever!! I love the light images vs. the darker images. When you’re shooting details, be sure to use the #2 tip again! I shot this cake probably 30 times!! Close up, far away and then a medium distance!
 9. If you design your own albums, pay attention to the WB of your images. Images shot in similar light will always look better in a spread together! Some of these images were shot outside and the dancing shots were inside but the indoor shots were lit with window light so it was very simliar in color!
 10. Have fun! I know this is so much to think about and NO one can really shoot with the album in mind CONSTANTLY. The most important part of your client’s wedding day is the way you make them FEEL. If you connect with them, you have potential to create amazing images! I really think this last tip should be focused on MORE than anything else! It’s about the EXPERIENCE…. not just the images… more on that concept later:) … wink wink**
I hope this helped! Can’t wait to see this FULL album printed!!!

Thanks for reading!
— Katelyn


MORE RECENT POSTS

Ever felt that wave of anxiety before a photoshoot—the kind that makes your mind race with thoughts like What if I freeze? What if I run out of ideas? What if my clients feel awkward?
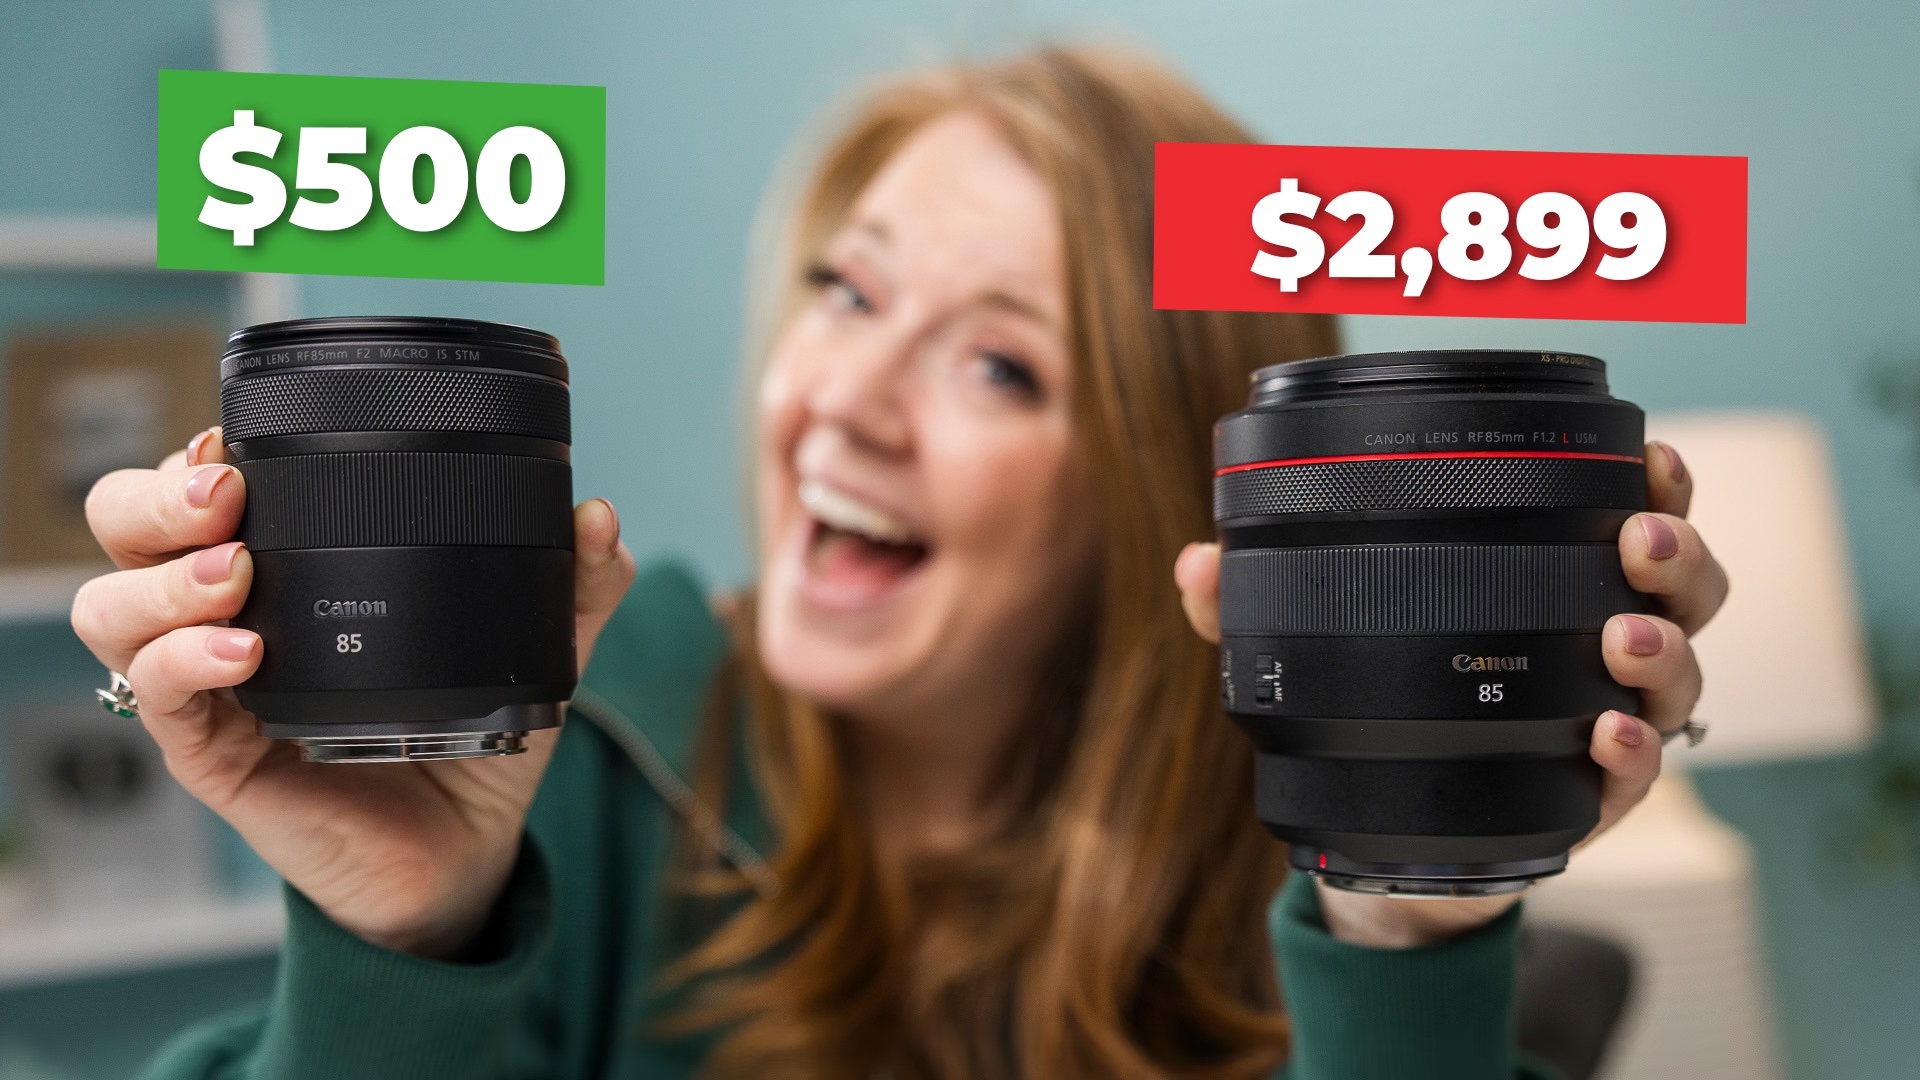
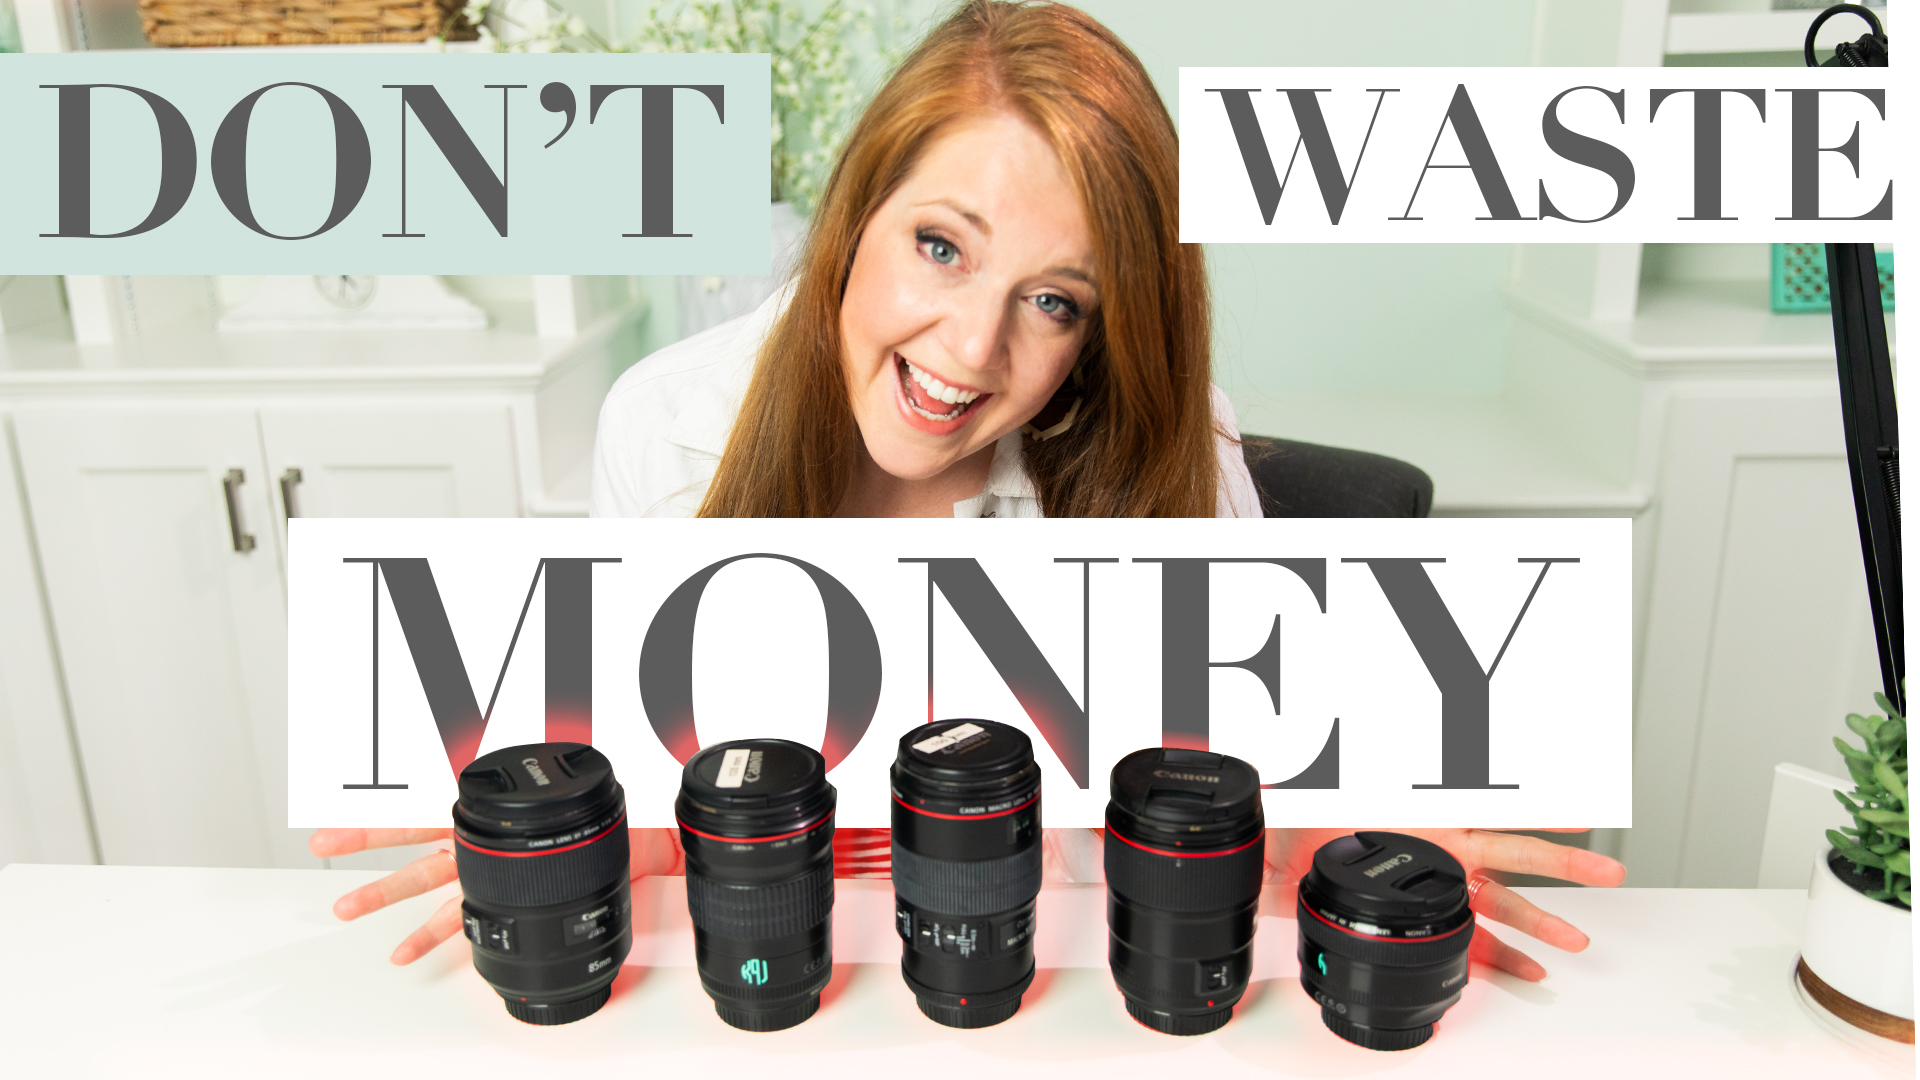
When it comes to wedding photography, the right lens can make all the difference. But let’s be honest—gear can get expensive. So when Canon introduced the RF 85mm f/2.0—a lens with portrait, macro, and image stabilization capabilities for just $500—I knew I had to put it to the test.

Have you ever started a session, camera in hand, and suddenly felt stuck? Your couple is standing there, looking at you, waiting for direction… and your mind goes blank.
Have you ever tried to sit down with your spouse to talk about dreams, goals, and vision—only for it to turn into frustration or misalignment? If so, you’re not alone. Vision casting in marriage is hard because it brings up deeper fears, beliefs, and unspoken dynamics that many couples don’t even realize are at play.
Success—it’s a word we hear all the time. But what does it really mean? Is it about financial security? Status? Owning a dream home or taking extravagant vacations?
When you think about your business, do you see it as simply a job—or something more?
Top Personal Posts


Have a little time to read?


"Best money I have EVER spent on education! ... and I've spent a lot!”

"I love all the lessons I'm learning from KJ All Access! Thanks Katelyn!”

"I find very few educational resources worth it ... this one is!”


"Being able to see behind-the-scenes of Katelyn interacting with her clients has been SO impactful!”

"SO worth it! It's amazing the amount of knowledge you get out of them!”

"I learned just as much in one All Access as I did in a whole course! SO GOOD!"

The KJ blog
must-reads


YOUTUBE


")

")


")
")
")
The KJ Learning roadmap

")


")
