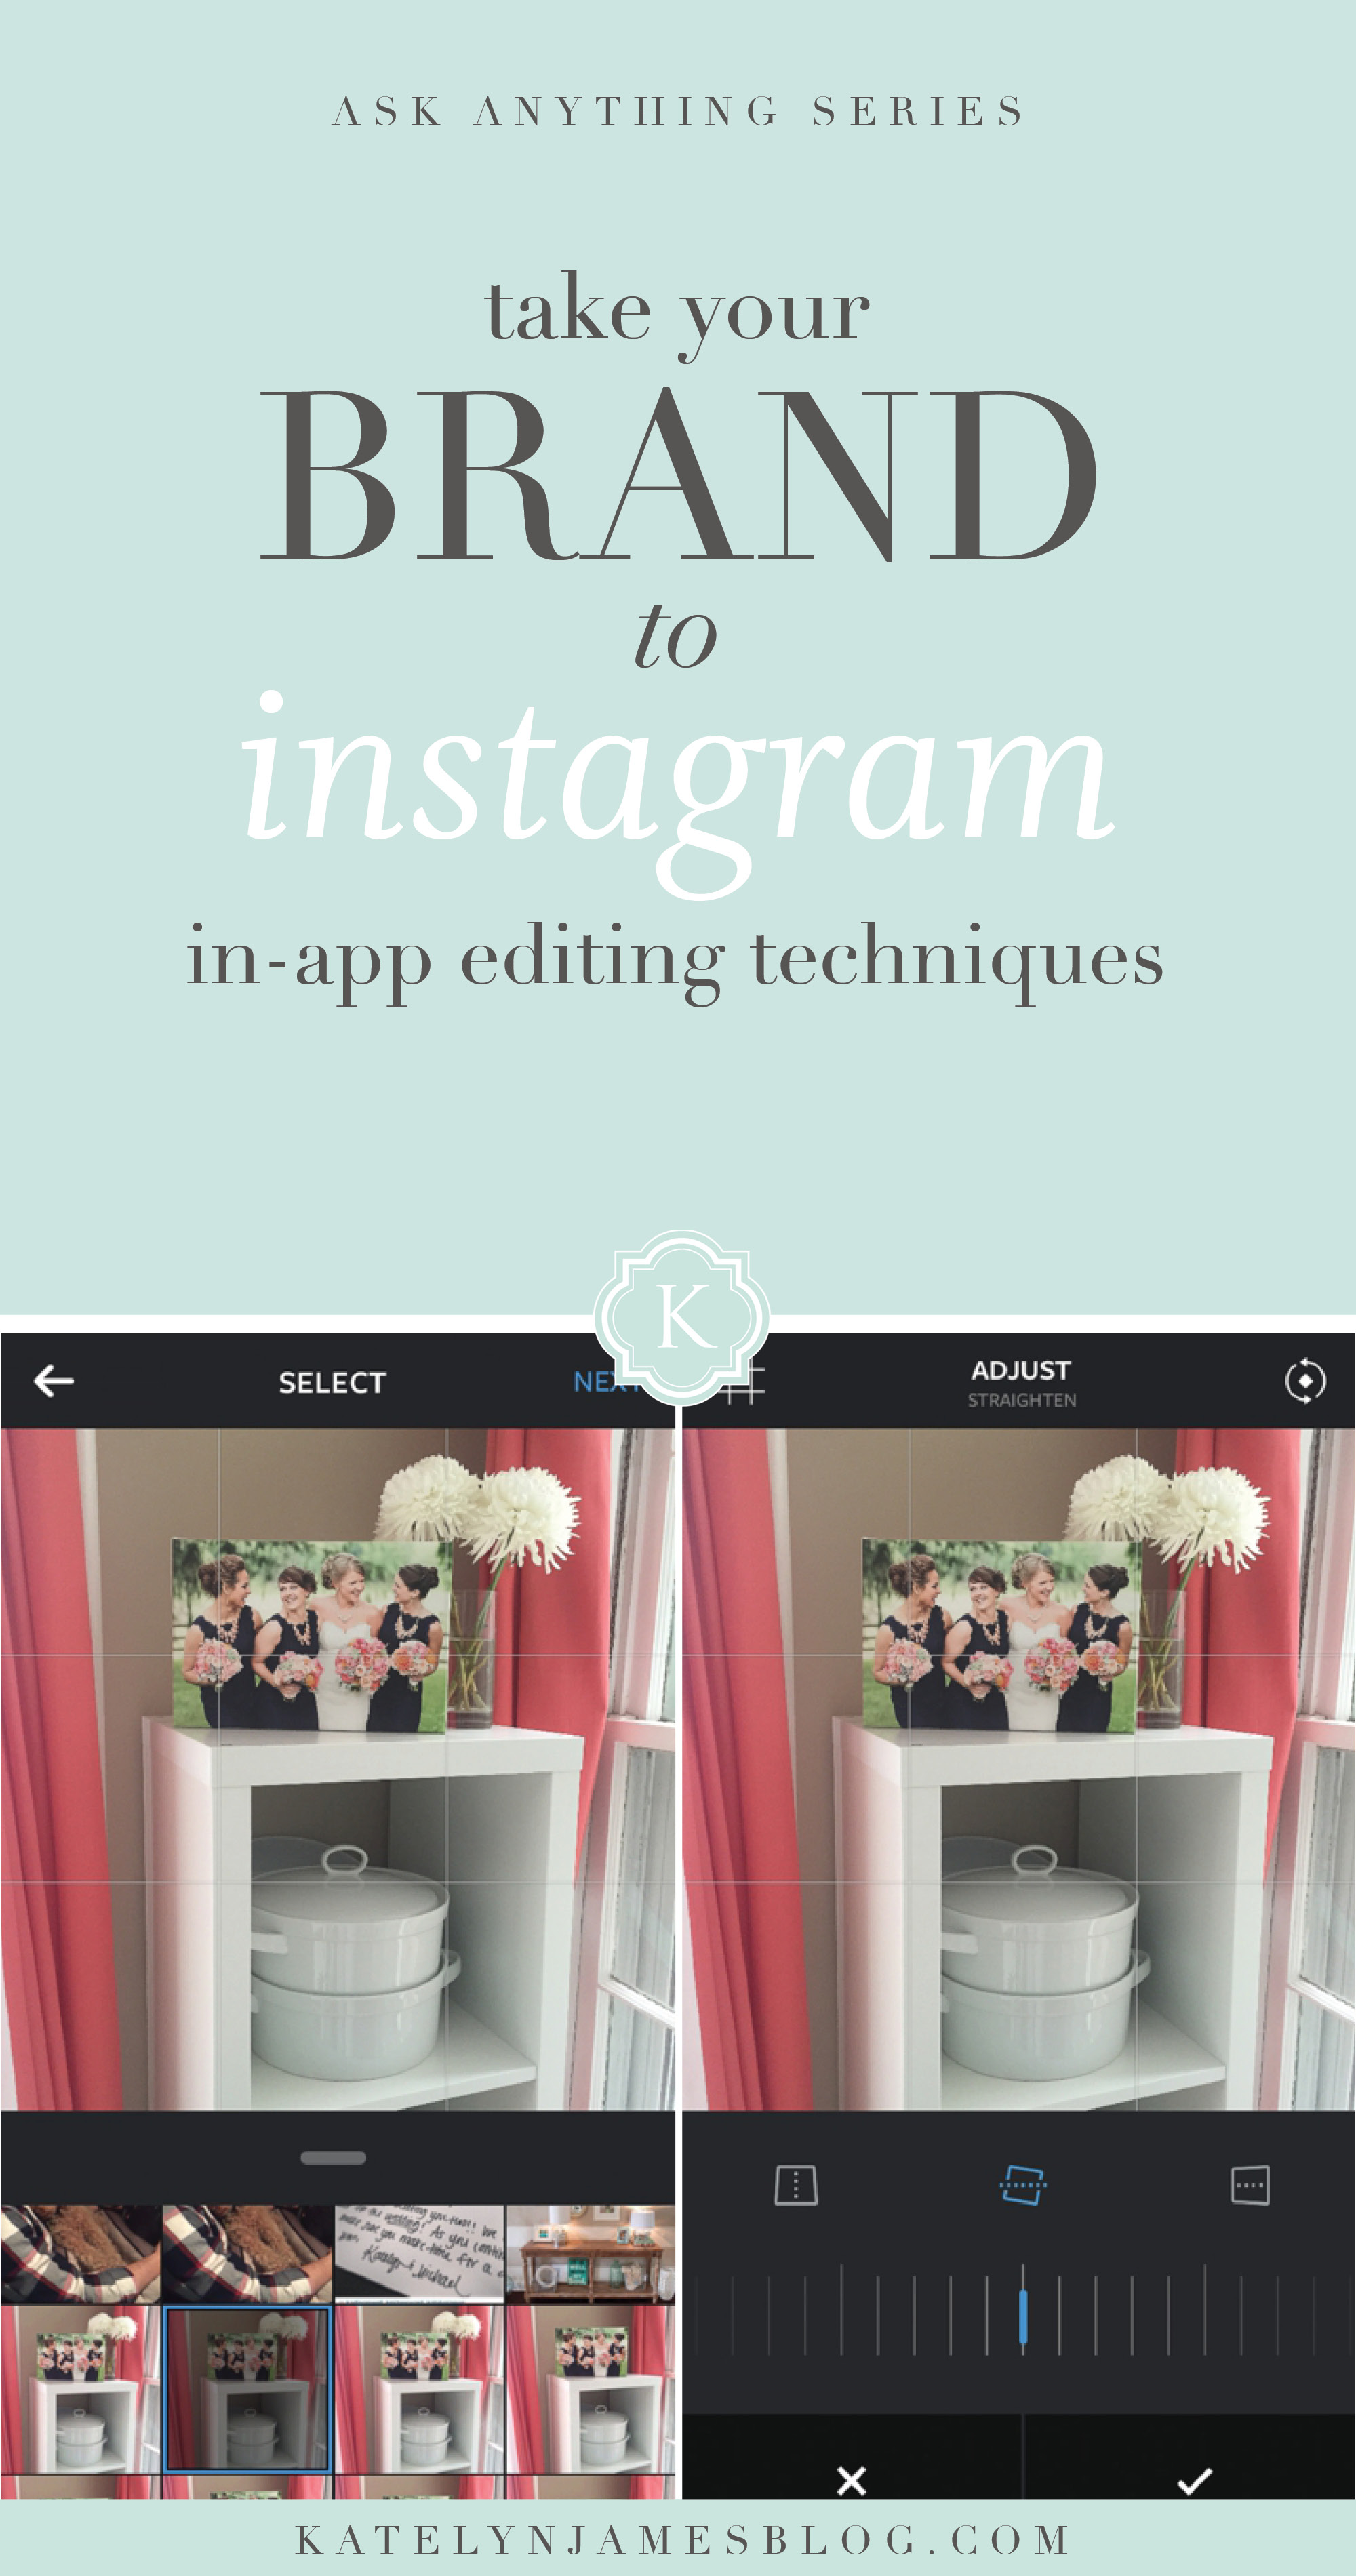
So for me, I never had ONE outside Instagram app that really did it for me. VSCO is awesome if you have a hint of “film-like” characteristics in your professional images but it doesn’t work for me. I have fresh, bright, vibrant images and so VSCO has never enhanced my editing style. However, EVERYONE seems to use it! I didn’t realize until recently that I’m the WEIRD ONE that edits inside of Instagram! I’m the one that’s strange and doesn’t use an outside editing app!
I edit inside of instagram for a few reasons! :
1. It’s easy and it’s FAST!
2. I can usually match my instagram edits with the style of my professional edits!
3. I’m lazy and It’s one less thing to keep track of!
Is it REALLY that hard to open an image in a different app and then export to Instagram? No. I’m just exaggerating the effort it takes to use other apps because I don’t use them. The thing is, I think some people think that I use some special app and I don’t. I’m super plain-jane with Instagram!! Everyone has there own way of doing things and I love hearing outside opinions! I used to use PicTapGo all of the time until I found a way to edit for my style right inside of Instagram! Here’s how I do it! :
1. Bump up the brightness until it’s overexposed
2. Pull down the highlights
3. Bump up the shadows (creating fill light)
4. Bump up the contrast to make it pop again!
5. Sharpen a tad
6. “Fade” a little if the contrast made the colors too vibrant
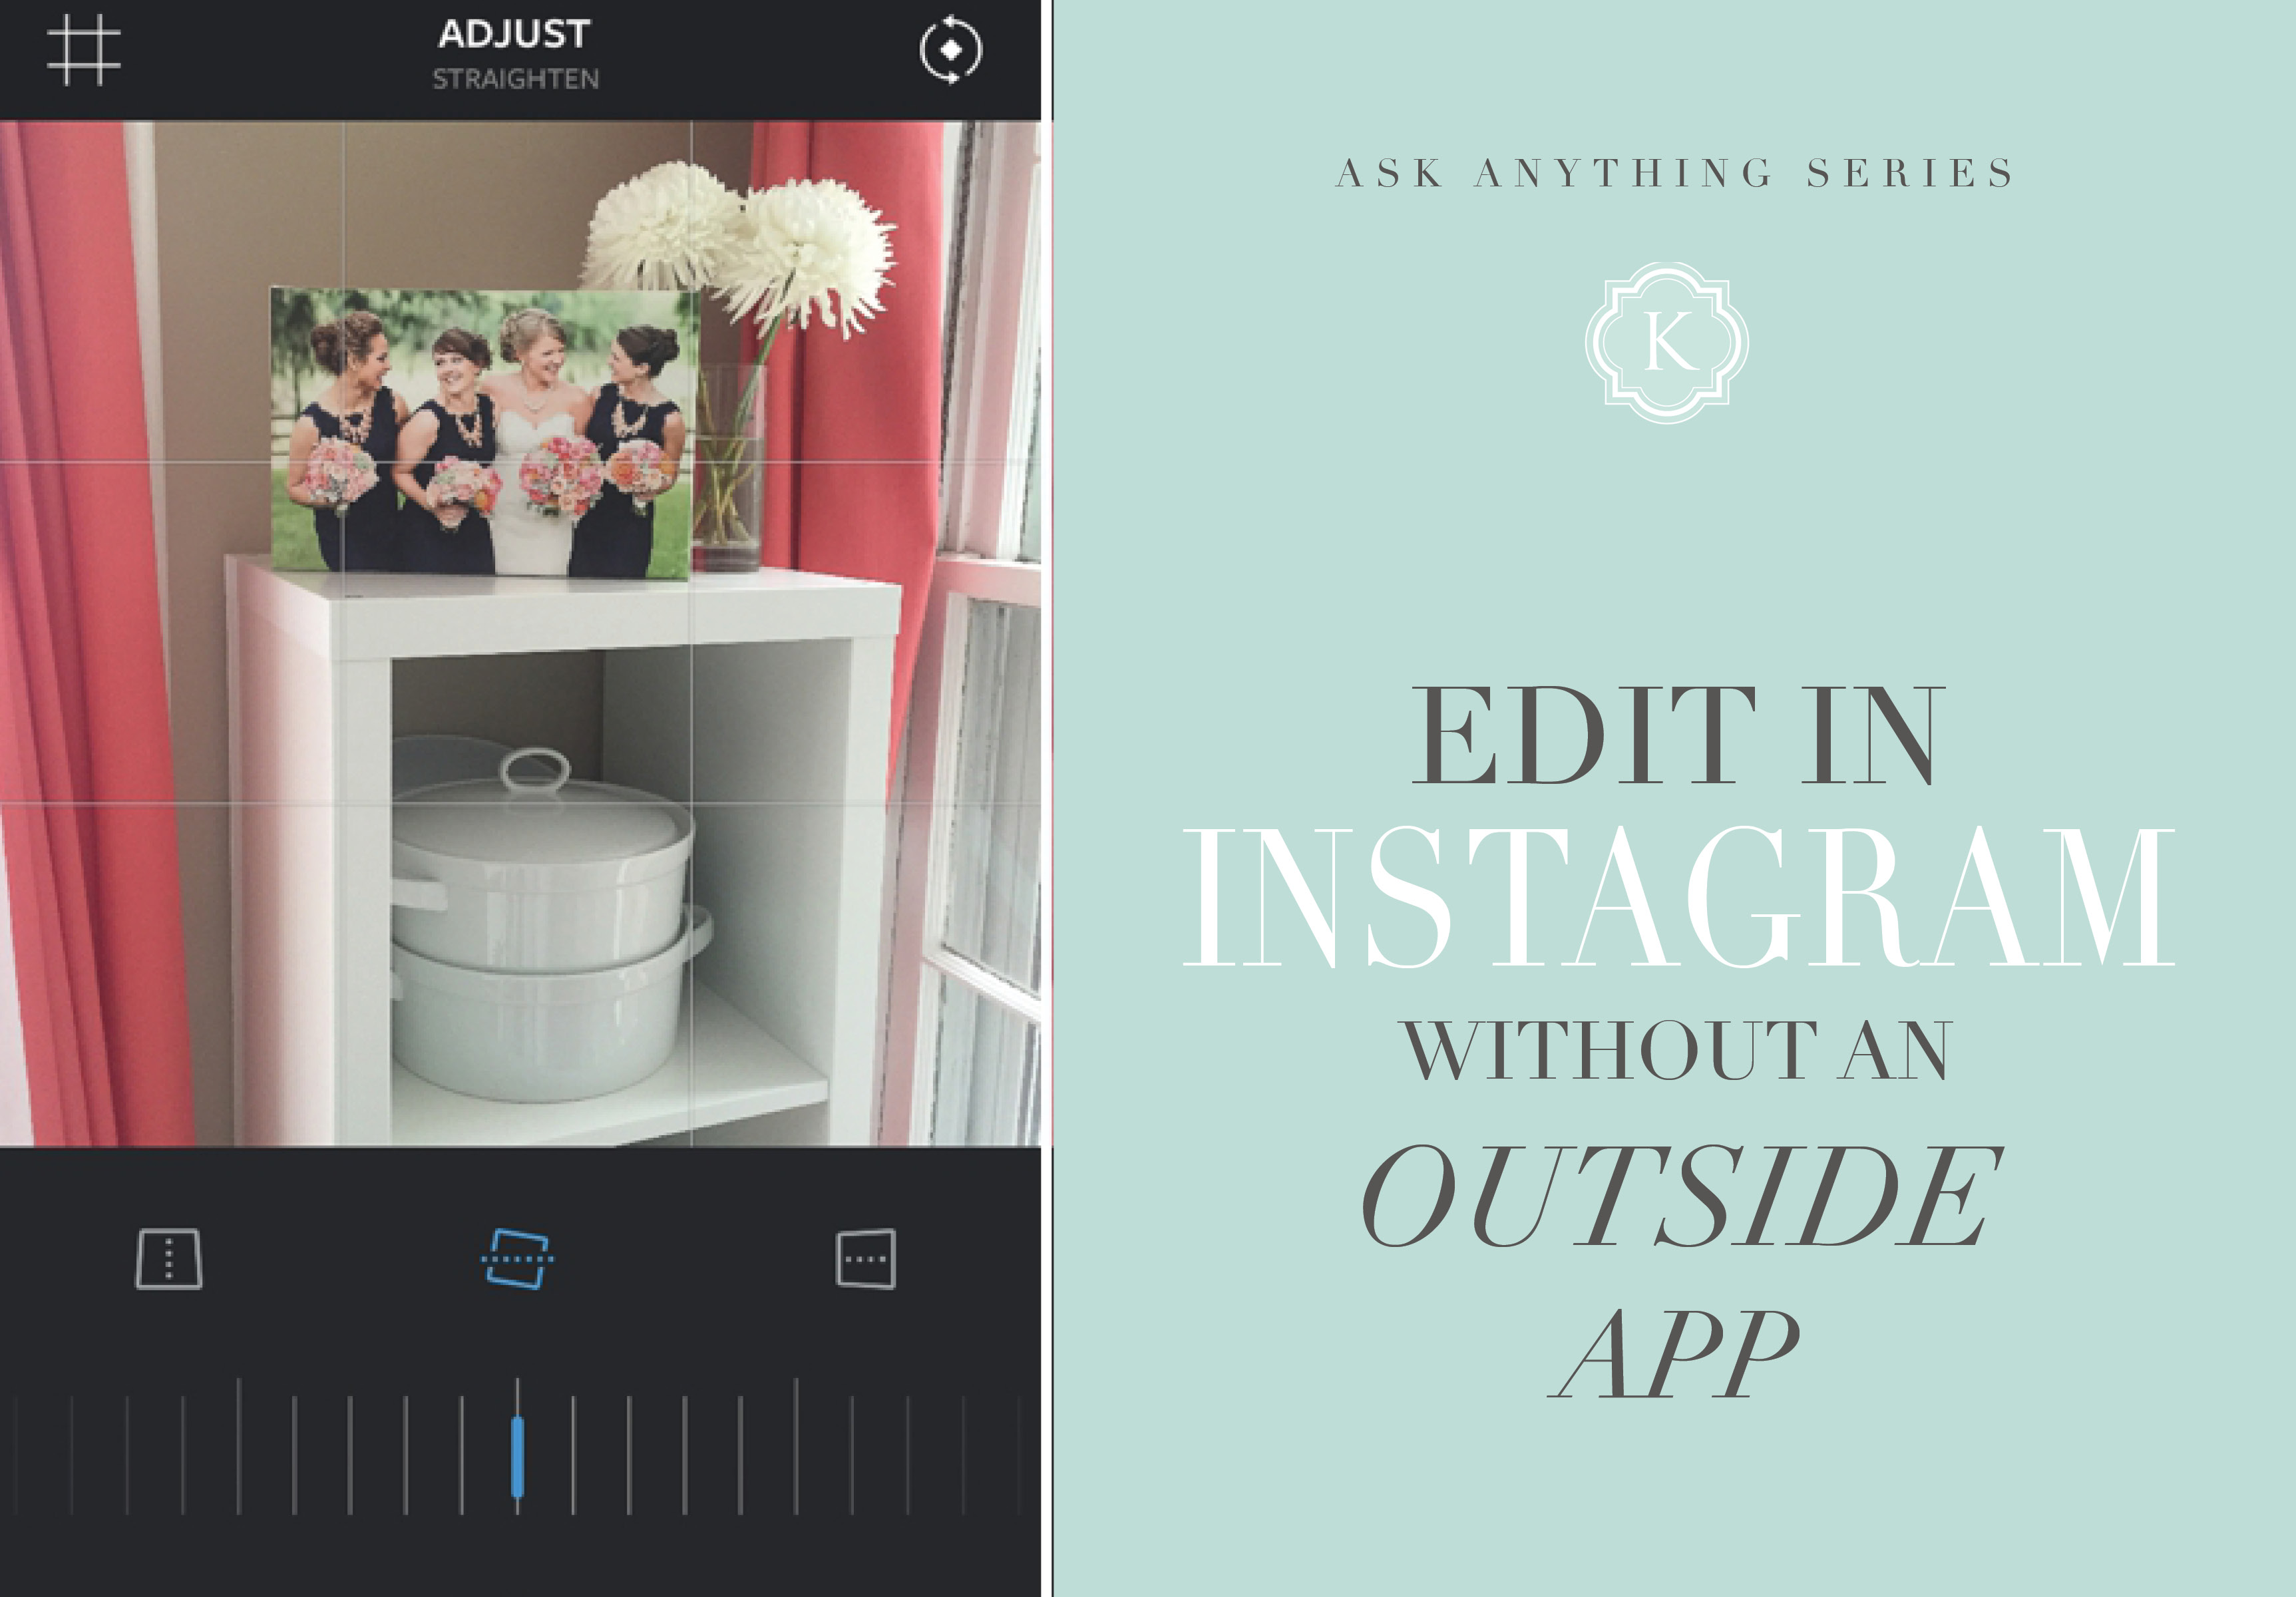
Use “Adjust” to straighten the photo and crop out unnecessary distractions (like the window sill!). Then, over expose with the “Brightness” just a tad! 
Reduce the highlights and bump up the shadows. Then use “contrast” to make the image “pop” again!
 I always sharpen just a little bit (remember, this looks good on phones, not on computers!) And while I don’t use this feature, there is a NEW color feature that allows you to change the color of the highlight and the shadow of your image! Just like split toning in LR! Once you click a color, double tap and you can adjust the intensity!
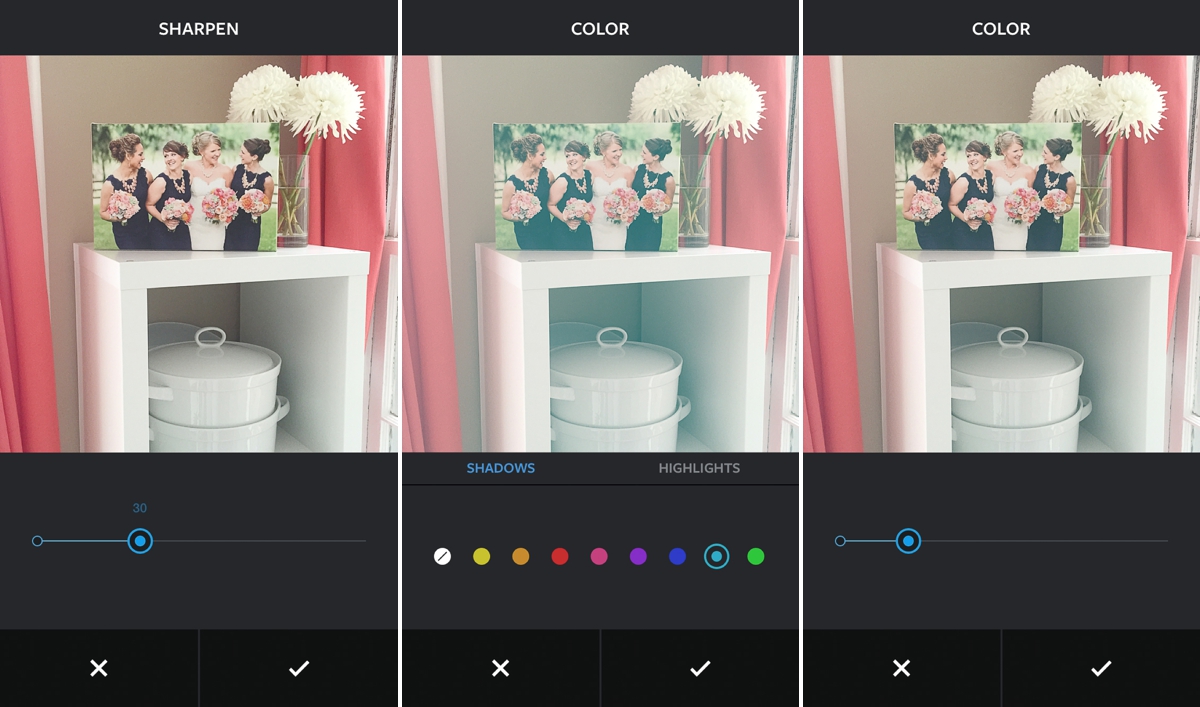
If you liked this… and would enjoy more resources in the future about professional image editing, let me know! :)