So today’s post isn’t directed just towards the 600’s because that post was done HERE. Instead, this post is about the actually PLACEMENT of OCF and how to shoot with a second light source. I’ll be the first admit that I have by no means MASTERED this. Heck no! I’m not a pro at OCF but I have been shooting with it at receptions for a while now and there are a few things that I have learned. Here we go!
Many photographers have emailed about my OFC setup and have asked me to explain the placement of the OCF. This is a great question! So I have one flash on-camera that bounces off the ceiling and one off camera flash pointed DIRECTLY at the dance floor. When your OCF is pointed directly towards the dance floor, that’s how you achieve that pretty, glowy light burst behind your subjects! However, those pretty glow won’t happen naturally, you have to practice YOUR placement. What I meant by that is it matters WHERE you are shooting from. You can’t shoot right beside your lightstand because you would be sending both of your light sources from the same direction and that image is going to be over exposed and super flat! In my opinion, OCF is used to create more DEPTH in my reception images. When I am firing an on-camera flash and an OCF (Off camera flash), I’m adding depth to my shooting environment by painting it with more light!!
Am I rambling yet? Here’s another way to think about it. I’m a NATURAL LIGHT photographer and so I have taught myself over the years how to manage direct light from the sun. I rarely ever have the sun beaming straight into my clients faces because that’s just not my style and so I think of OCF the same way. I think of my OCF as if it was the sun!! I like my subjects to be backlit in natural light and so I have learned to shoot them backlit with OCF as well! Here are some examples of what I’m talking about! :)
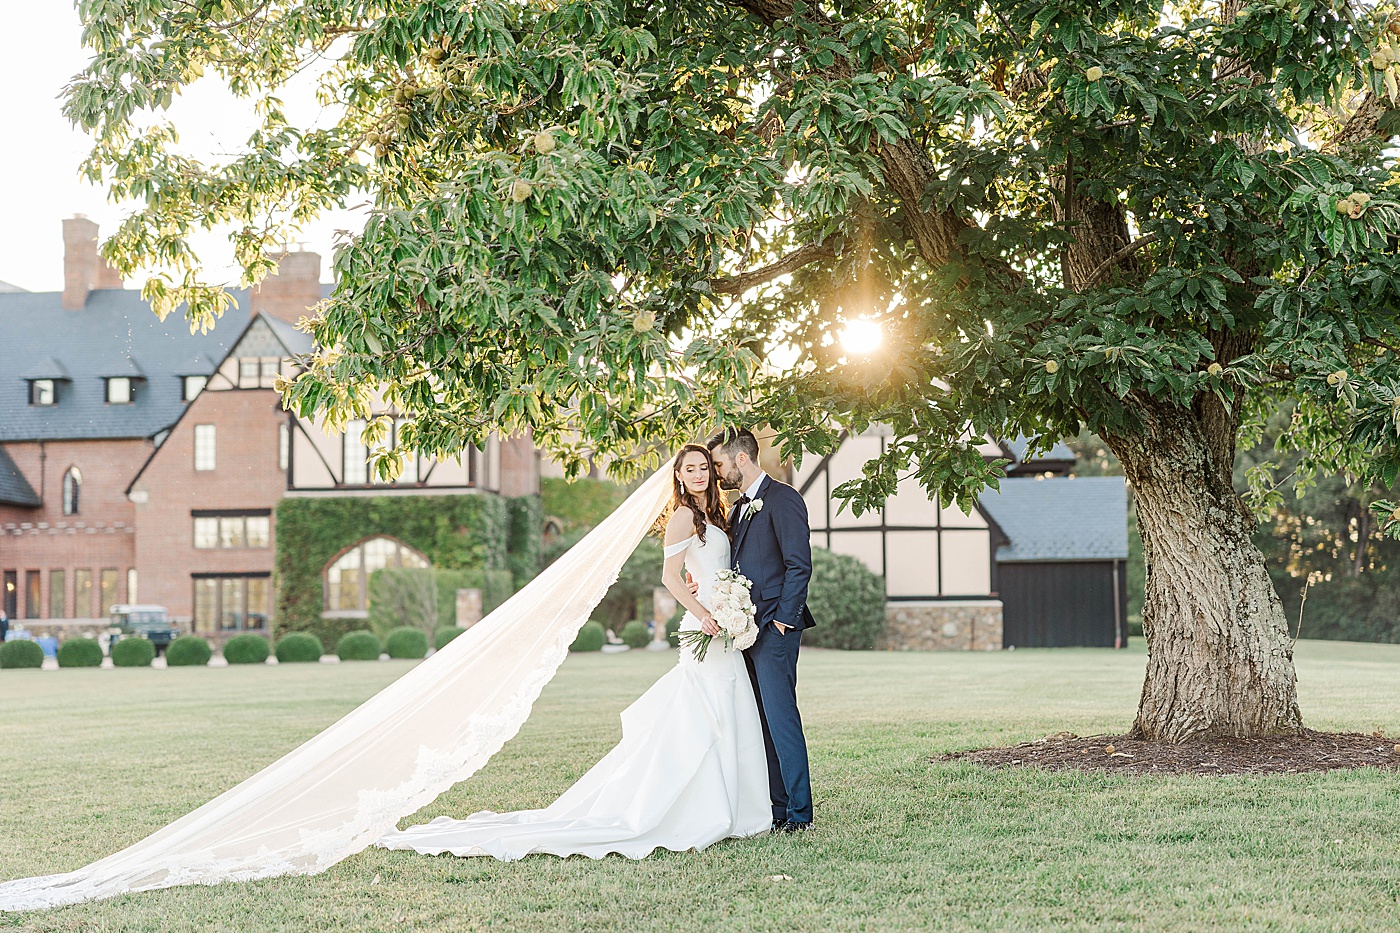
Ok, this image below was shot outside as the sun was getting close to setting. I obviously didn’t want the bright sun in their faces and so I positioned them to have the sun just lightly highlighting them from the side.


I try to setup my OCF close to or right beside the DJ booth or the Band. That way I know that no one is going to trip over it or move it on accident. It just kind of blends into the equipment and going unnoticed. I have included a diagram that may help you visualize what I’m talking about. By staying on the two opposite sides of the dance floor, I make sure that I’m not getting harsh lines of light on people’s faces and I know that the OCF is going to be lighting up the background of my shots. Some have asked if I ever MOVE my OCF depending on the activities that are going on and I do! It’s only one little light stand and so it’s very easy to reposition!

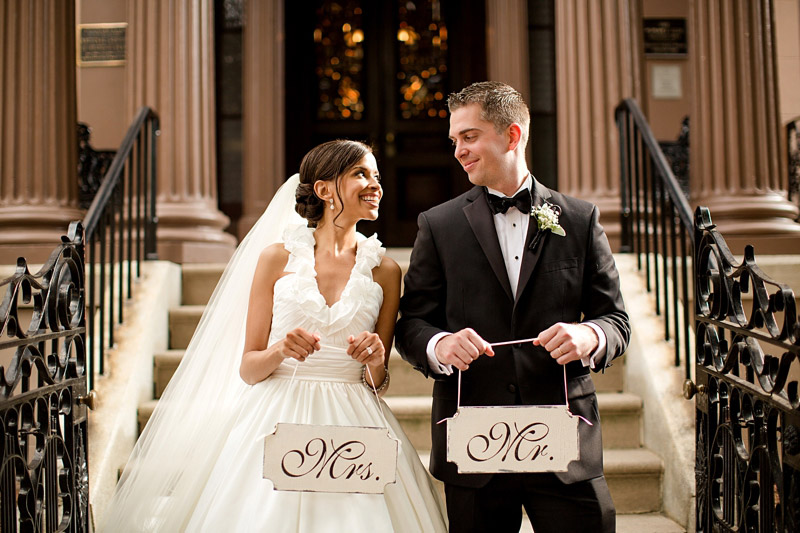
 But then I moved it over to the right of their cake, making sure that the flash was at a low power so that when the OCF hit their faces, it wasn’t too harsh and overexposed. These two images show the two options of OCF. The image above is backlit by OCF and this cake cutting image is front lit by the OCF. This second image isn’t perfect because something got in the way of my OCF and Brian’s face… but the OCF was soft enough not to create dramatic harsh shadows there. It’s not perfect but it’s definitely still a keeper! :) So do you see what I mean about the positioning of the OCF in these two images? I prefer to shoot backlit when I can but that’s just personal preference!


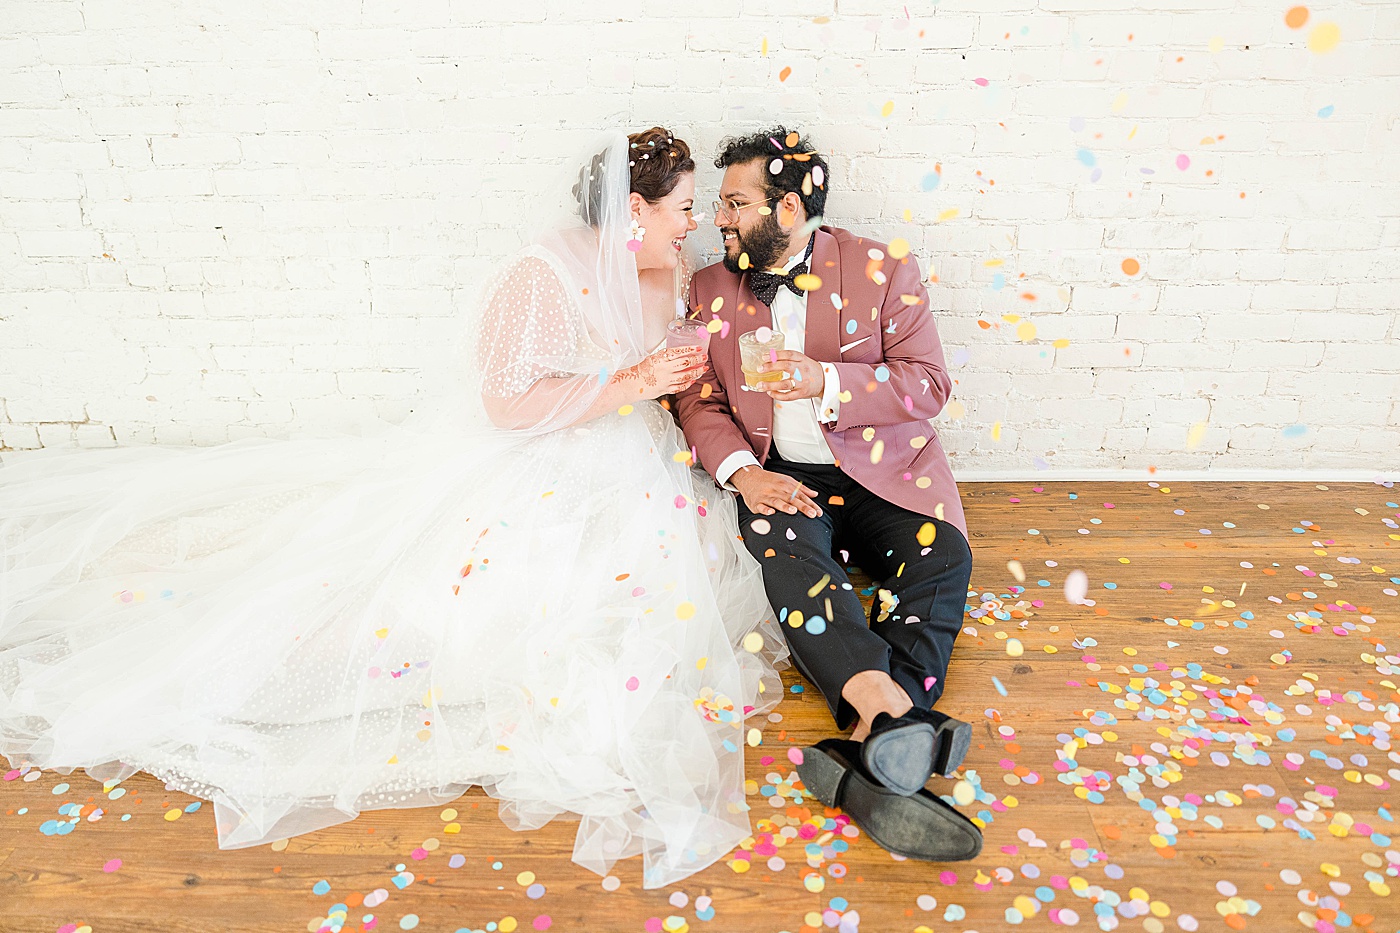
 (I moved the light stand outside really quickly before they made their exit! Imagine how dark and “non-glowy” this image would be without all of the light that is filling the background!)