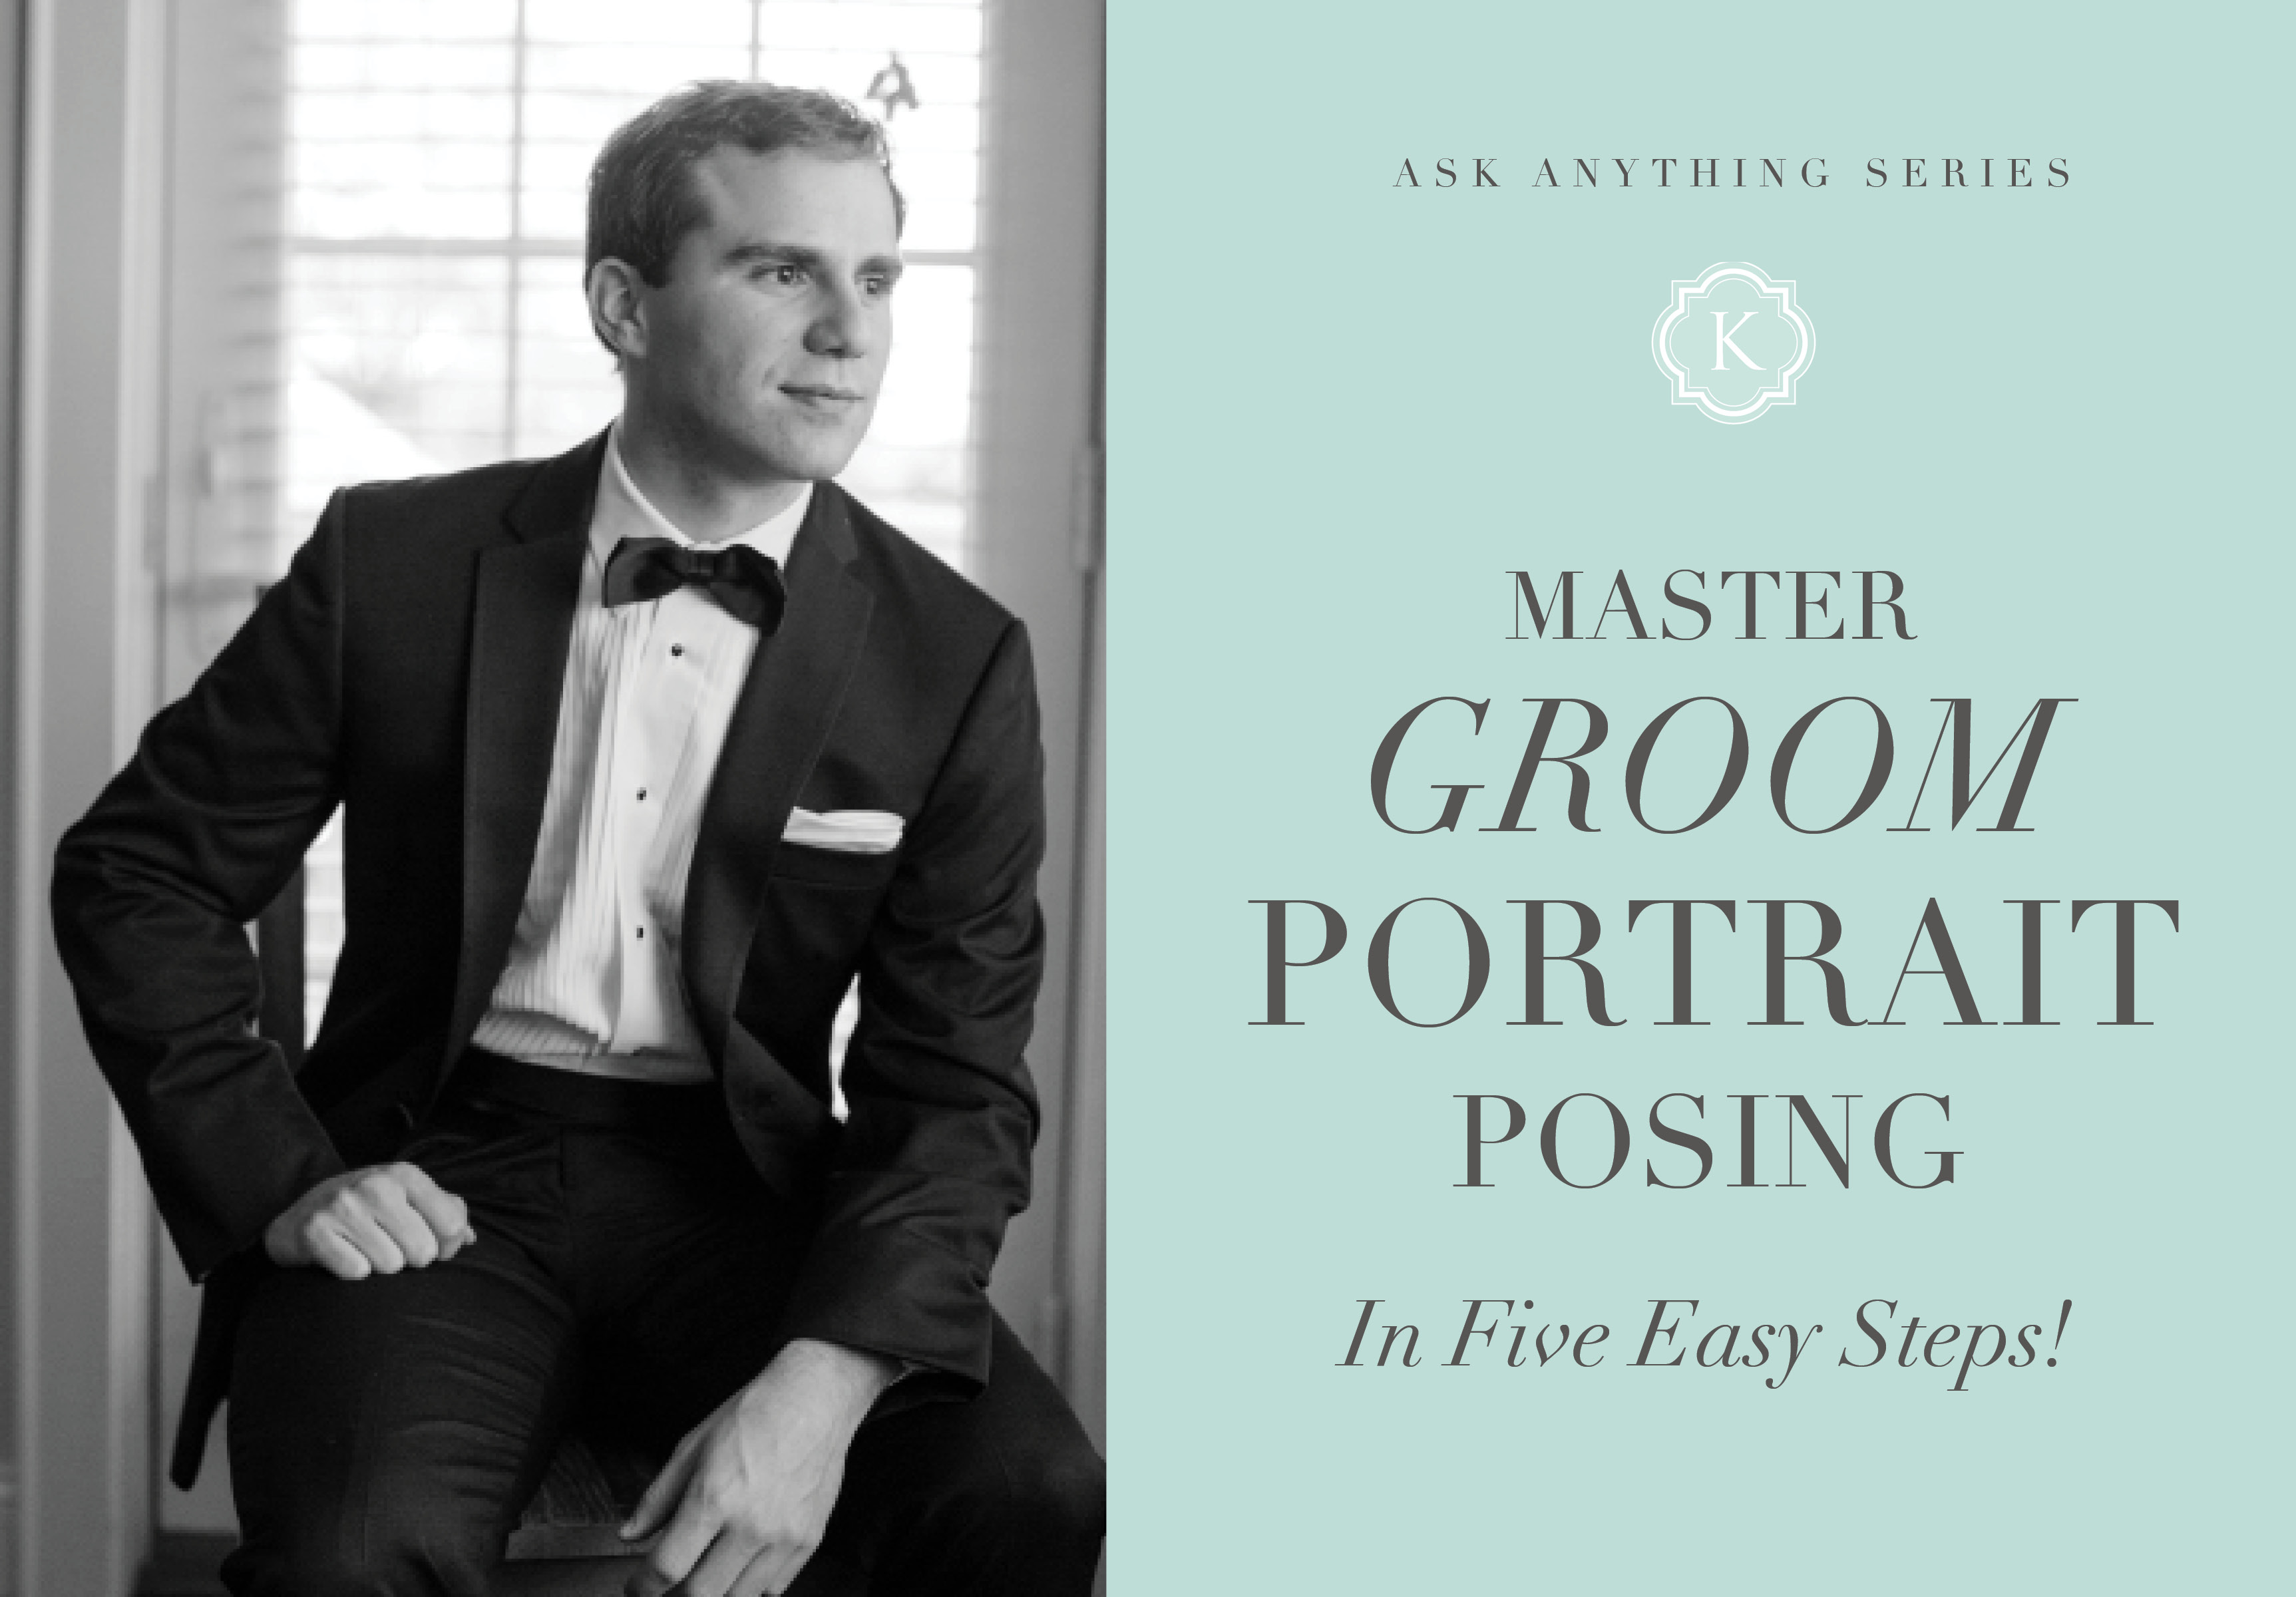
Well, those days have since passed because 1. Michael takes ALL of the groom portraits during the getting-ready portion of the day and 2. I’ve since learned how to instruct ANY guy to do the “Power Pose”… well, at least that’s what we’ve always called it. I’m sure this pose has another name but to Michael and I, that’s the easiest way to get a guy to try it without being skeptical! Wanna know how Michael does it?! Here are a 5 tips to mastering the POWER POSE for Grooms!
1. Find a chair and position it 90 degrees from the light source and your camera.
2. Have the groom sit towards the edge of the chair
3. Ask him to place his left forearm on his left knee (demonstrate this to make it easier). Also ask him to place his right either in his pant’s pocket or just resting on his thigh. This will naturally twist his shoulders slightly and will make them look more natural!
4. Start by asking him to smile out of the window, then smiling back at the camera (make sure his back is straight and that he isn’t hunching!)
5. Remind him of the “Model Face” from their engagement session. Have him look out the window with his “blue steel” look and then back at the camera!
Done! You have 4 different variations of a groom portrait! The trick is the “LEAN”. If it looks awkward, it’s probably because he isn’t leaning with his torso, he is just leaning forward with his arm.
So, next time you’re in charge of taking portraits of just the groom, you know exactly what to do!!! Big thanks to Michael for these tips! These are his specialty!
Ps. Be sure to see MICHAEL’S Pose power at the end!!! :)


It works for BRIDAL PARTY PORTRAITS too! Look at all of those POWER POSES! So proud! (Ps. I’m also proud because there was a torrential downpour beginning during this shot and they mastered the Power Pose in ONE try!)

Look at THIS guy! I’m MARRIED to him!! I’m a lucky girl. So handsome! He’s known for his smile but his model face is just as impressive. :)


To learn more about Katelyn’s foundational approach to posing, check out The Posing Evolution Mini-Guide HERE!
To view other education posts, click HERE!
To view the Katelyn James Education site, click HERE!