You bought the camera, watched a few tutorials, maybe even tried to follow some YouTube videos…but the second you turn that dial to “M,” your heart starts racing.
The settings don’t make sense, your photos turn out too dark, too bright, or just off.
So you switch back to Auto… and wonder if you’ll ever actually learn how to use your camera?!
Good news: It doesn’t have to feel this way!
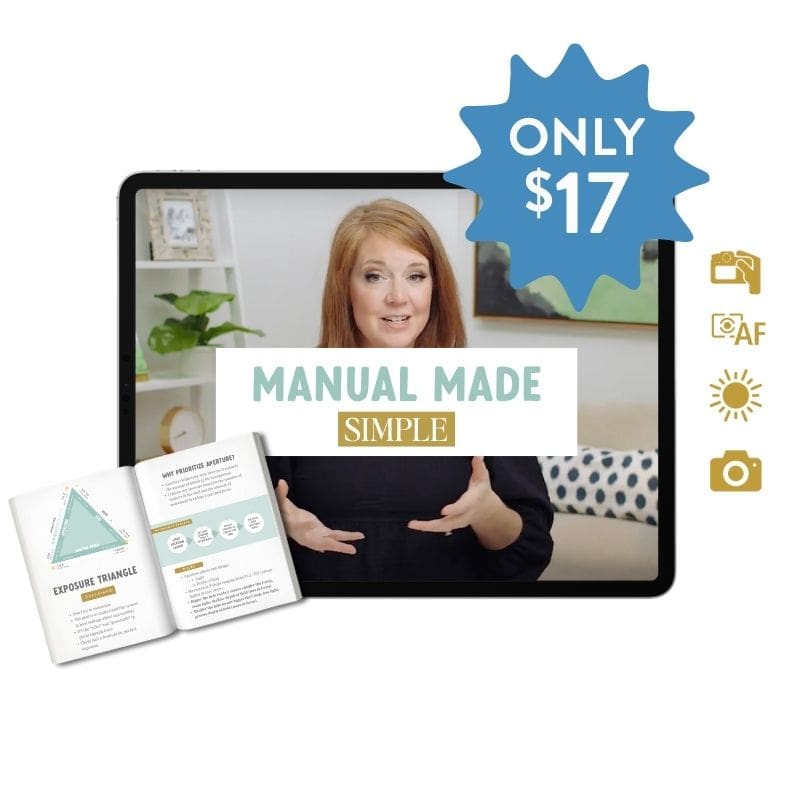
Manual Made Simple is on sale for $17 (normally $47) for a limited time! Six quick action lessons and workbook pages that finally make ISO, aperture and shutter speed make sense… taught in plain language by the LEAST techy photographer you’ll ever meet.
Nobody ever explained it in a way that made sense
The thing is, you didn’t FAIL at manual mode.
You were handed a chart with a bazillion numbers and told to memorize it, and your creative brain looked at that chart and said….. absolutely not. 😆😆
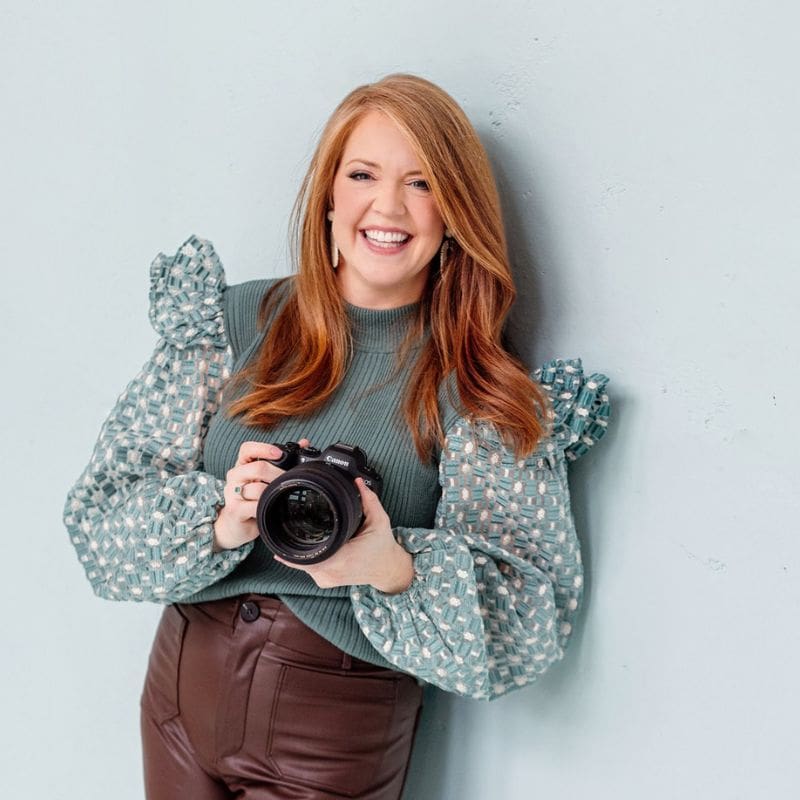
I know because I was that girl.
I started with no formal training and a starter camera off eBay, and I can still feel my fingers fumbling to switch from auto to manual… knowing I was SUPPOSED to know this already. My work was SO off.
Nobody sat me down. So I figured it out alone…and now, 17 years later, I teach it in plain language so that others don’t have to be frustrated like I was.
I am the LEAST techy photographer you will ever meet and I’ve taught 50,000 photographers how to understand their camera!!
This is for you no matter WHY you picked up the camera
Maybe you just want to photograph your kids and actually be able to frame the photos on your wall.
Maybe you want to start a side hustle and eventually charge for your work.
Maybe you run a small business and you’re tired of paying somebody every single time you need product and marketing photos.
Whatever your story is, it’s the same three settings standing between you and the images in your head.
Learn them ONCE and they serve every version of this you’ll ever do… including the version where this turns into a full time income from PHOTOGRAPHY.
What ISO, aperture and shutter speed actually do
Most beginner lessons start by explaining how the three settings relate to each other. That’s why they lose you!! You can’t understand a relationship between three things you can’t define yet.
So let’s define them in plain language, no math…promise!!
ISO is how sensitive your camera is to the light that’s already in the room. Low number in bright light. Higher number when the light disappears… and yes, there’s a cost to going too high, which is why it’s not the setting you reach for first.
Shutter speed is how long your camera’s eye stays open. Open longer, more light gets in… but anything moving during that time turns to mush. This is the setting behind almost every blurry photo of a toddler you’ve ever taken.
Aperture is how wide the opening in your lens is. Wide open lets in more light AND gives you that soft, creamy background everybody wants. Closed down/ tighter opening keeps more of the scene sharp and in focus.
Read those three again. Nothing you just read required a graph!
The part nobody tells you: what you’re exposing FOR
Here’s the piece that changed everything for me, and I almost never see it taught.
Your camera is not trying to make a beautiful photo.
It’s trying to average out the light in the frame and land somewhere in the middle. That’s why your backlit photos come out with a bright window and a dark, muddy face.
Every time you pick up your camera, you are making a decision about what in that frame you want to look right. The face. The sky. The details in her dress.
That decision is called exposing for something, and once you know what you’re exposing for, choosing your settings stops being a guessing game. You’re not asking “what’s the correct setting?” anymore. You’re asking “what am I protecting in this photo?”
That question has an answer every single time..and the chart you’ve Googled can never answer it!!
You don’t have to memorize anything
I want to say this louder for the girl who is already convinced she isn’t smart enough for this.
You don’t need to memorize a confusing graph or scale. You don’t need charts or math formulas just to take a photo of your kid in the backyard.
So what do you actually need??
A Shooting Priority Plan!!
Same order, every time. It turns “what do I change next?” into a decision you can make in about two seconds.
That’s the difference between the people who shoot manual confidently and the people who go back to auto. It isn’t talent and it isn’t a technical brain. It’s having a plan instead of a chart. 👏👏
What this actually looks like
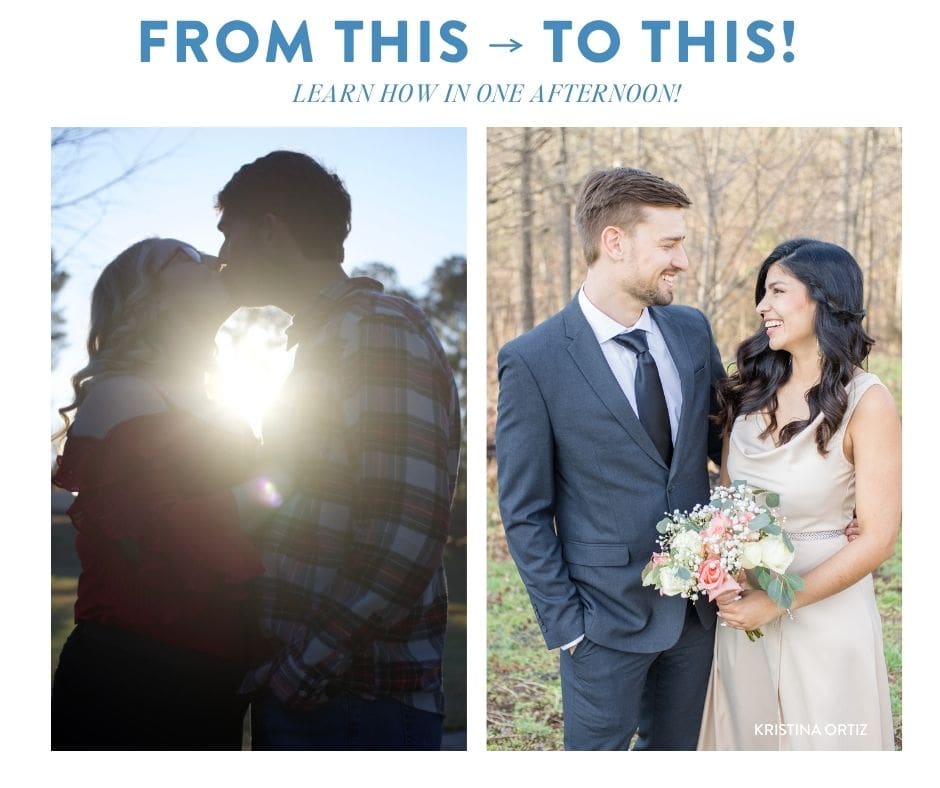
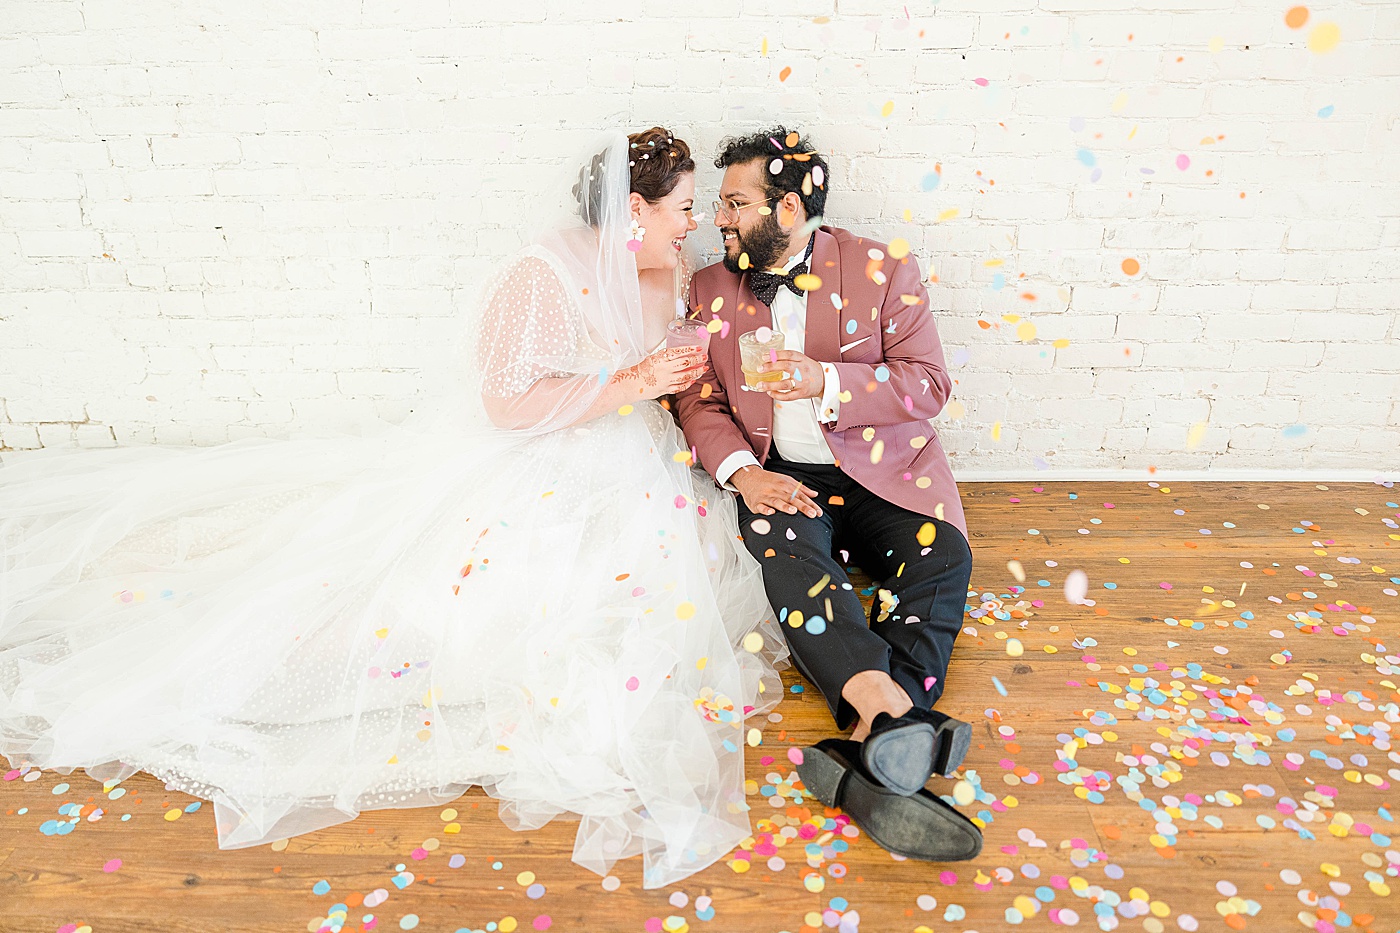
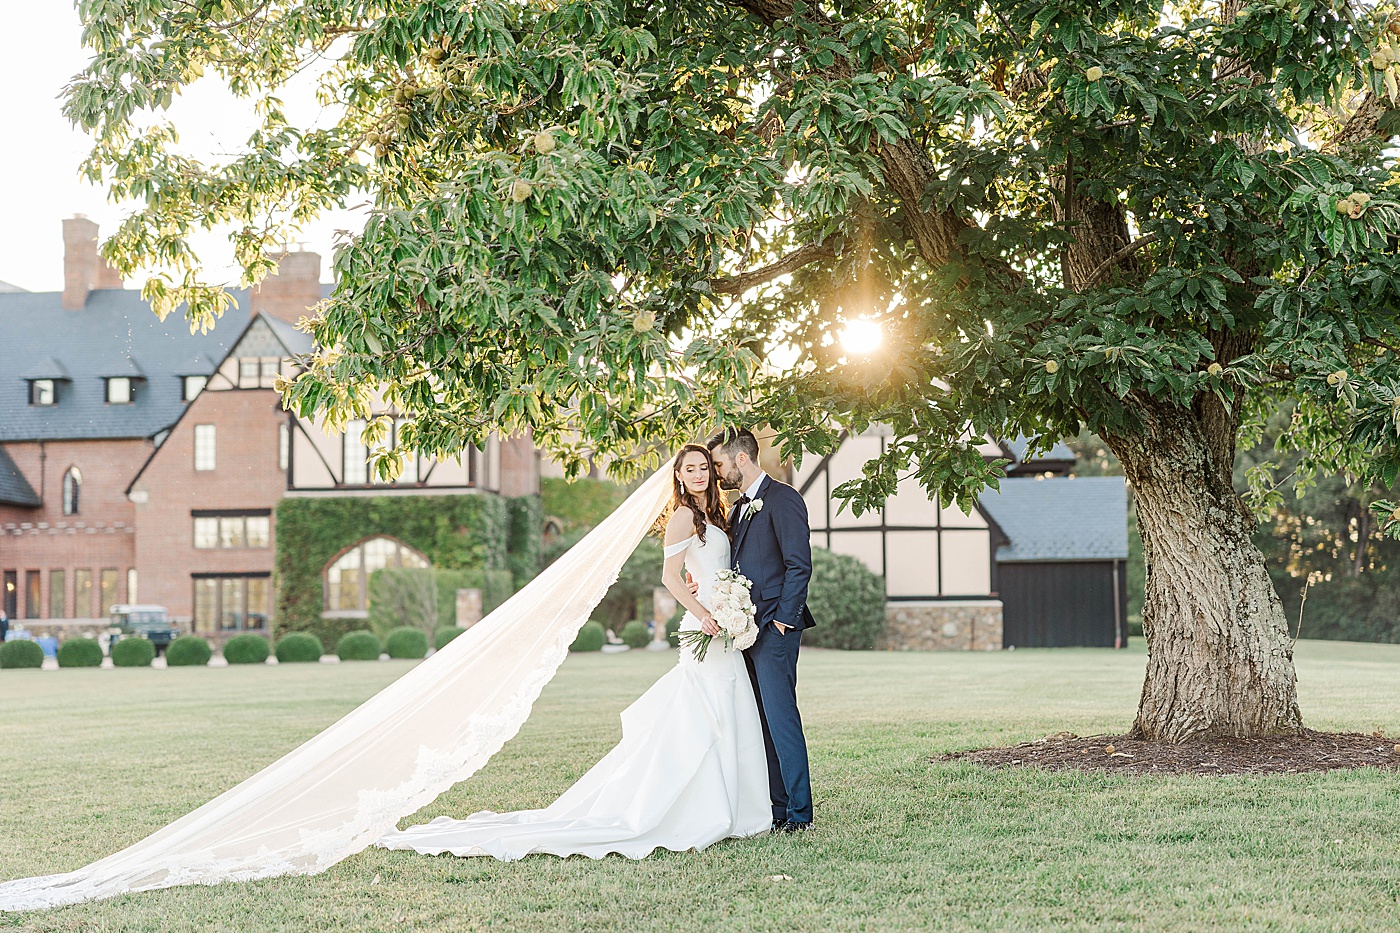
➡️ If your photos look something like these… ➡️ but you WISH they looked like these…
Nothing is wrong with your camera. It’s doing exactly what you told it to do.
And this is how a camera you saved for ends up in a closet, still in the box… and how you end up reaching for your phone at your own kid’s birthday. 🫣🫣🫣
You just haven’t been given the words yet, and I want you to be proud of your work by your very next shoot!!
Where to start
I took all of this and put it into one resource for you, and right now it’s $17 because I never want money to be the reason somebody gives up on the camera they saved for!!
It’s my masterclass called Manual Made Simple.
I’m giving you SIX quick action lessons plus workbook pages… everything you need to confidently start shooting in manual mode:
- Manual Setting Basics – what that dial is actually asking you
- ISO Explained – in plain language, one setting at a time
- Aperture Explained – including how you get that soft, dreamy background
- Shutter Speed Explained – and why your photos of moving kids keep blurring
- Exposure Triangle – what it is, so you never feel behind when somebody brings it up
- Setting a Shooting Priority Plan – my FAVORITE lesson in the whole thing!!
That last one is the one people email me about!! It’s the lesson that makes ISO, shutter speed and aperture decisions stop being overwhelming, because you finally have an order to follow instead of three numbers yelling at you.
That’s what I want for you!! Not a photography degree. Just the ability to pick up your camera at your own kid’s birthday and finally take images you’re PROUD of.
→ Get Manual Made Simple for $17
Common questions about learning manual mode
Is manual mode hard to learn? No… it’s just usually very poorly taught! Manual mode is three settings and one decision about what you want to look right in the frame. Most beginners quit because they were handed a chart to memorize instead of a plan to follow.
What settings should I start with in manual mode? Lowest ISO your light allows, aperture for your preferred style and focus area and a shutter speed fast enough to freeze whatever is moving.
What’s the difference between manual mode and auto mode? In auto, your camera averages the light in the whole scene and guesses. In manual, YOU decide what in that frame gets to look right… which is why your backlit photos finally stop having a bright window and a dark face.
Do I need an expensive camera to shoot in manual? No. Every DSLR and mirrorless camera has the same three settings, whether it cost $500 or $5,000. I started on a starter camera off eBay.
Do I have to memorize the exposure triangle? You don’t. I teach you what it is so you never feel behind when somebody brings it up… but I’ve been shooting for 17 years and I have never once done math in my head on a wedding day. What you actually need is a priority order for your settings.
How do I stop my photos from coming out blurry? That’s almost always shutter speed. Your camera’s eye is staying open too long while your subject moves. Manual Made Simple walks you through exactly where to put it and why. If it’s not a shutter speed issue, you’re probably shooting at too wide an aperture. I would adjust to 3.2 if that’s the case.
What if I’ve tried to learn this before and gave up? Then you’re the exact person I made this for. You didn’t fail… you just never got it explained in a way that made sense.
I hope this is hugely helpful for you!
→ GRAB MANUAL MADE SIMPLE FOR $17 AND GET OFF AUTO BEFORE YOUR NEXT SHOOT!